After lookiing again I think i have mistaken the year of those mercs. What year are they and the checkmate?
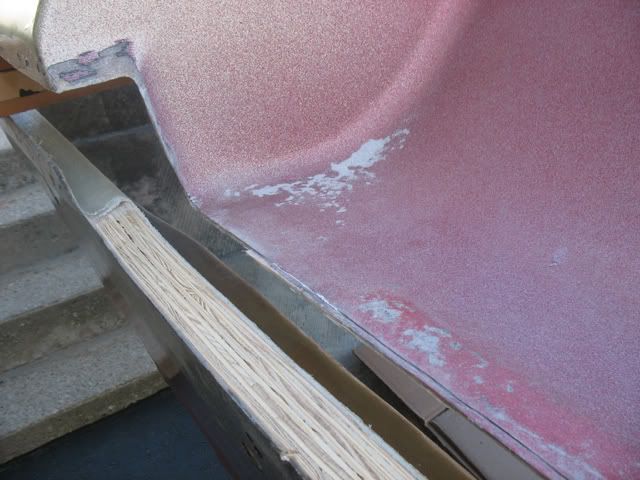
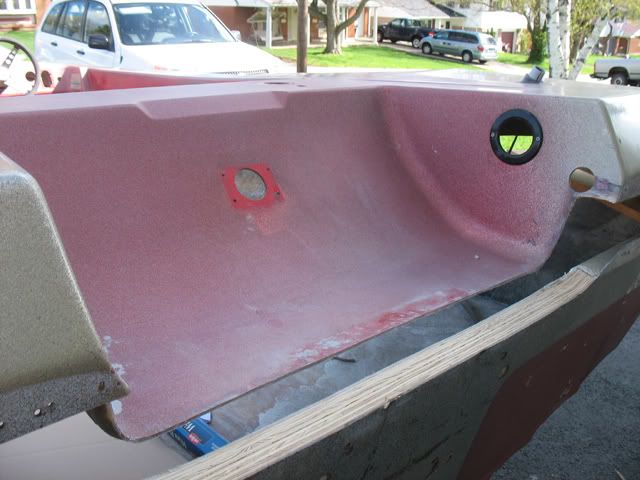
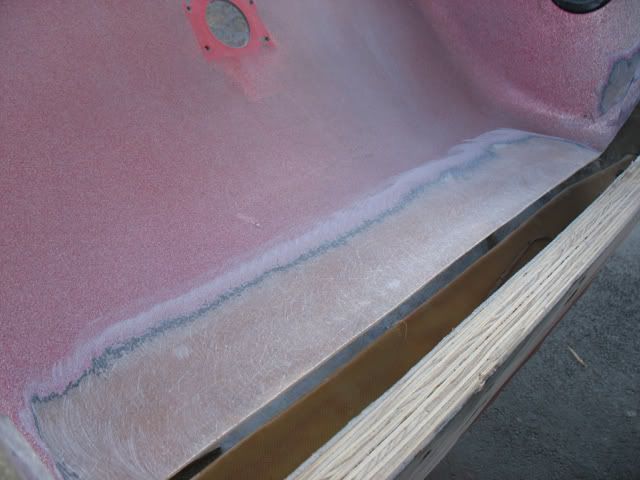
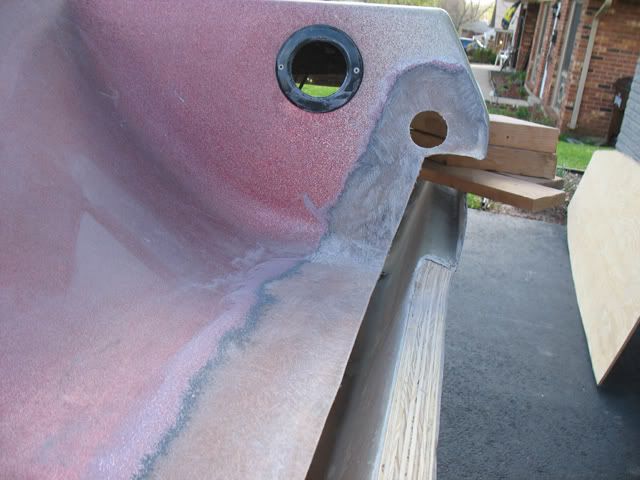
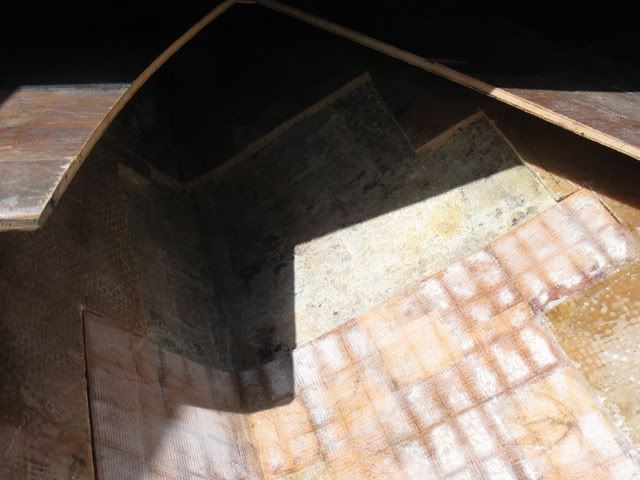
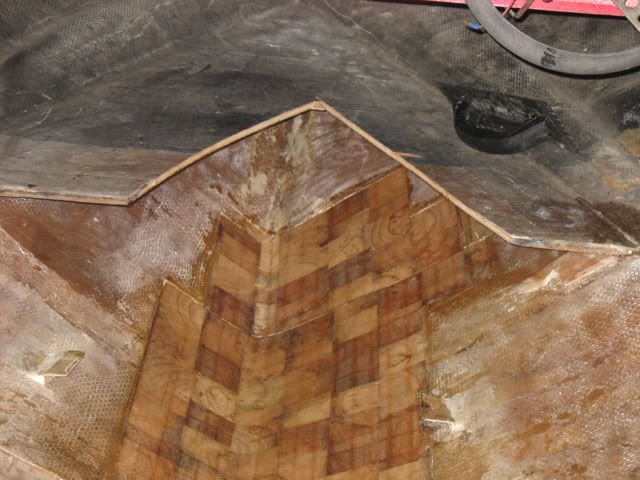
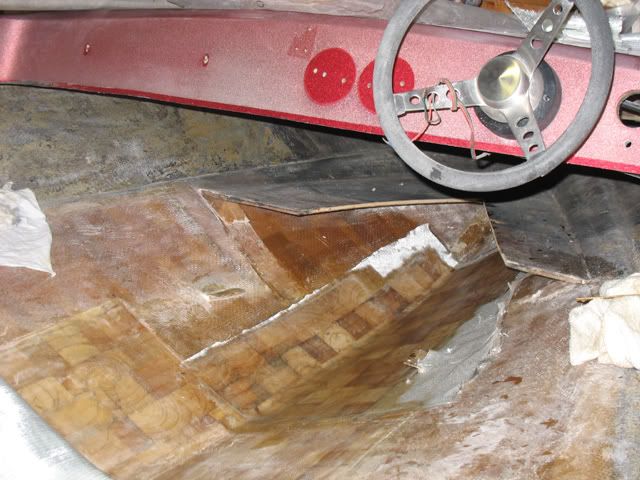
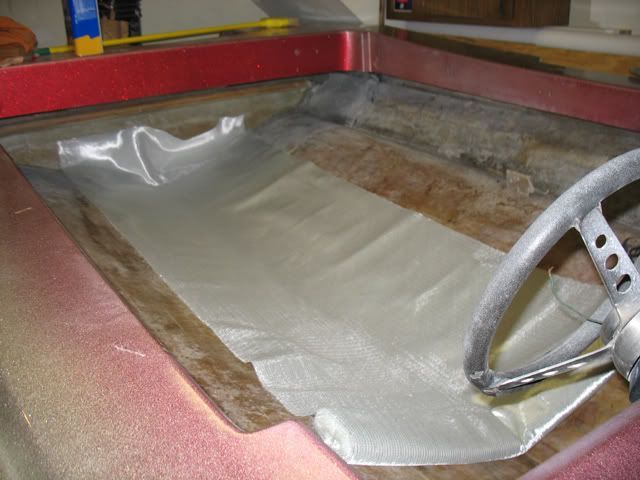
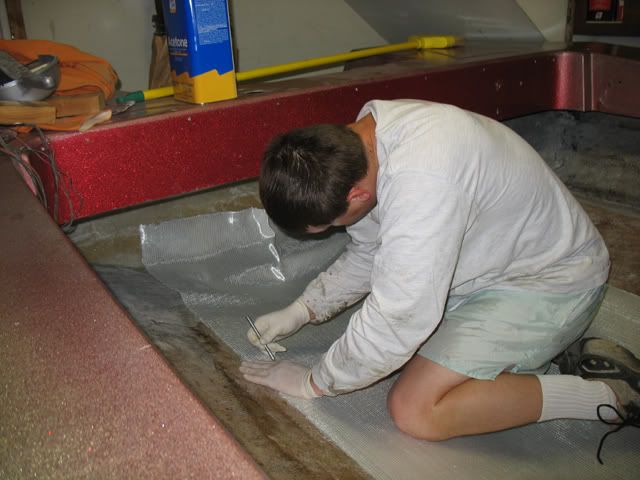
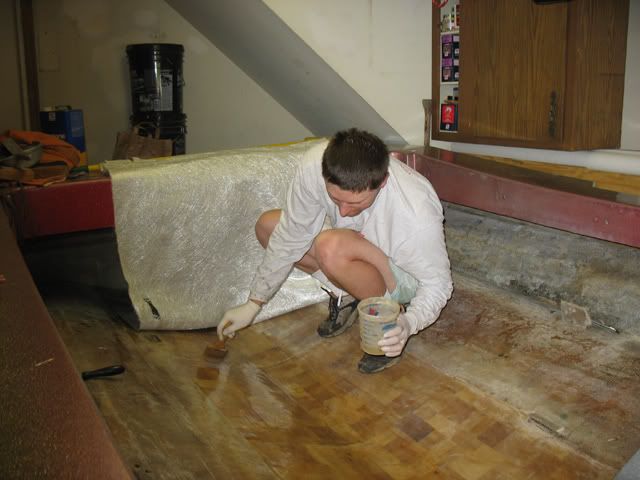
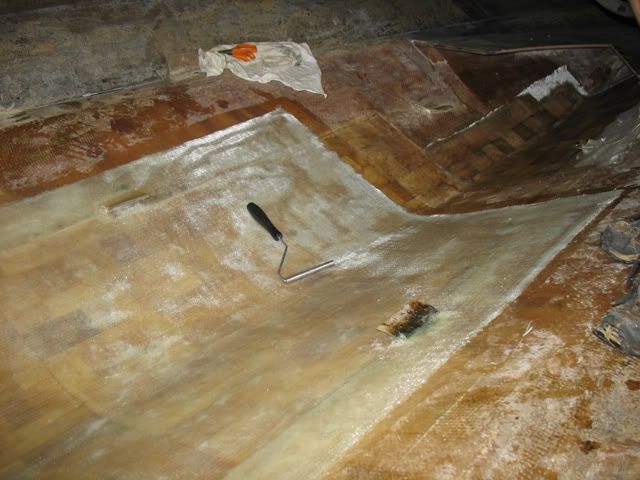
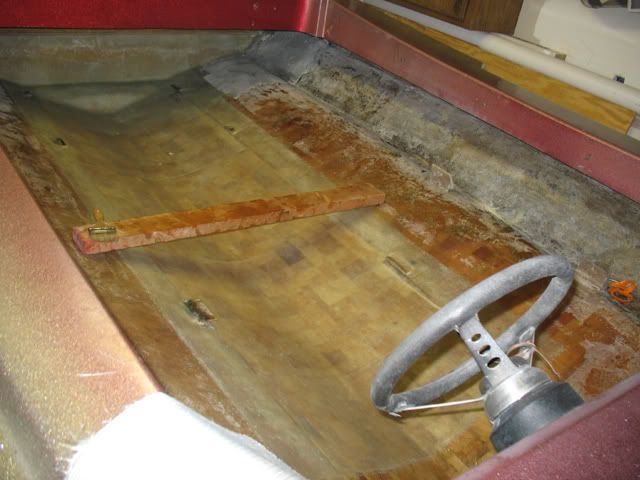
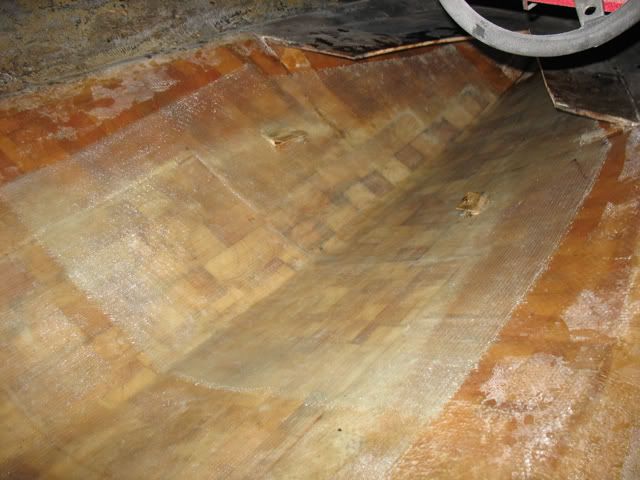
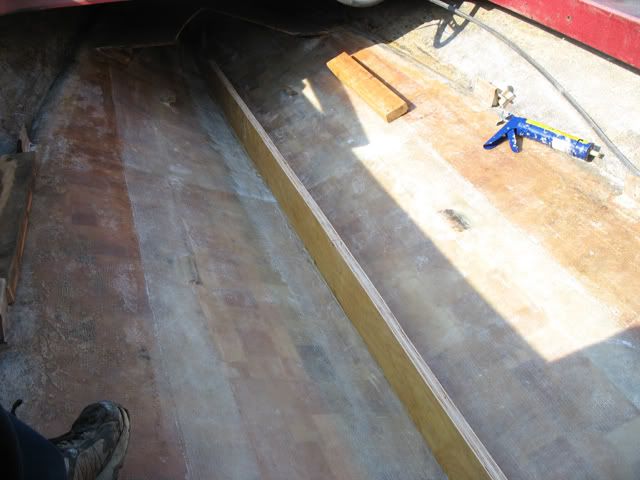
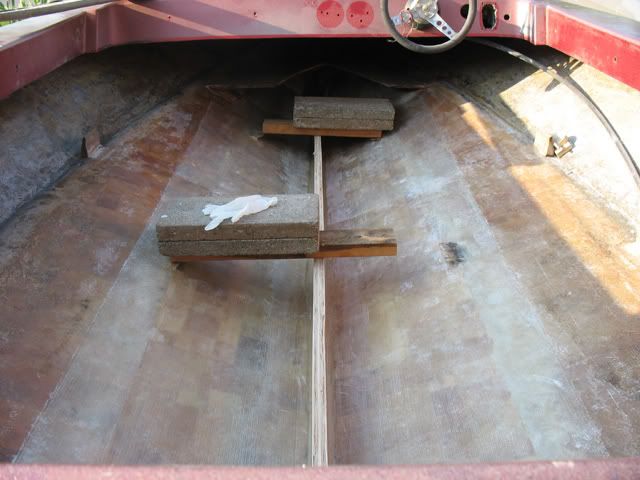
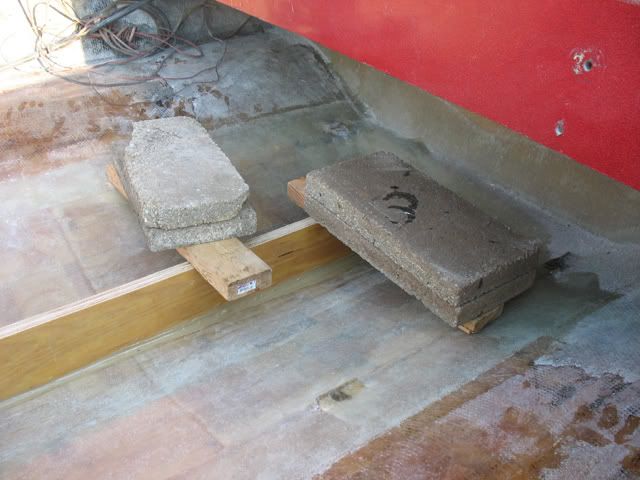
Whan i was a kid in the 70's i watched and dreamed of having a Checkmate ,Baja , and Carlson /glasstron. Now a few boats later I Bought a 79 Carlson with a 115 merc. and thought i was in heaven. The wood started to go away, lost a cylinder ,And practicaly gave it away because I didn't want to do what you are doing now. The next day I came across a 76 Hydrostream Vector with a merc on it and just had to have it.(couldn't be boatless for one day, sad huh?) I looked it over and thought it was solid., found out later i was wrong. This time I didn't give up, in process of recoring now.
keep up the good work . look good . love it when someone brings back one of my old dream boats!!

How do you post pics from my library??


")
 so now it's just a matter of staying warm.