Restoration in progress

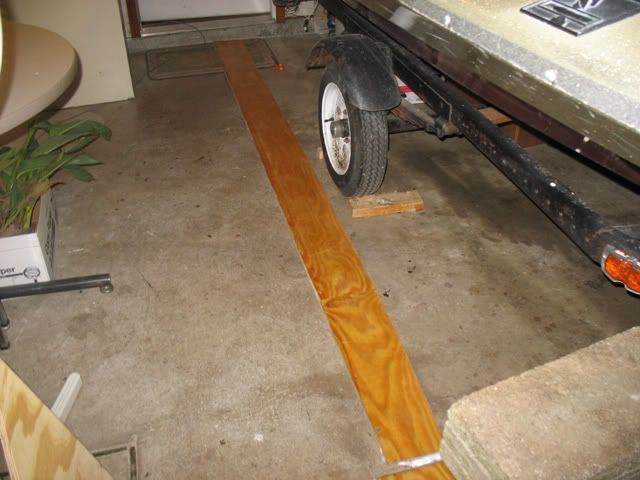
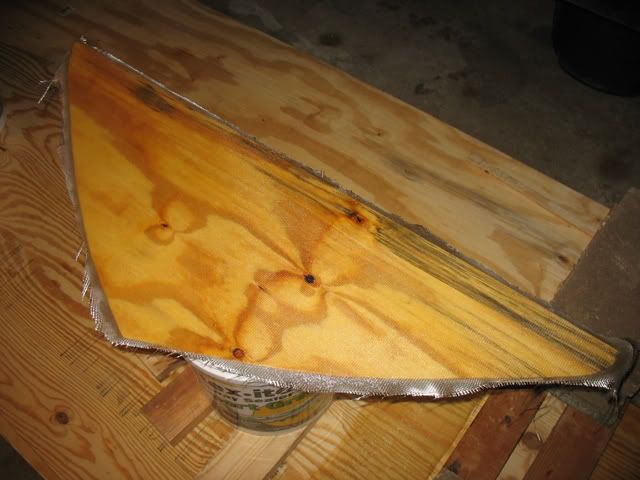
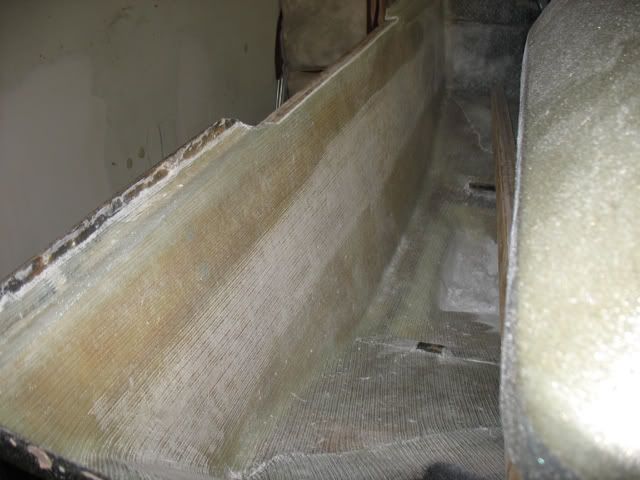
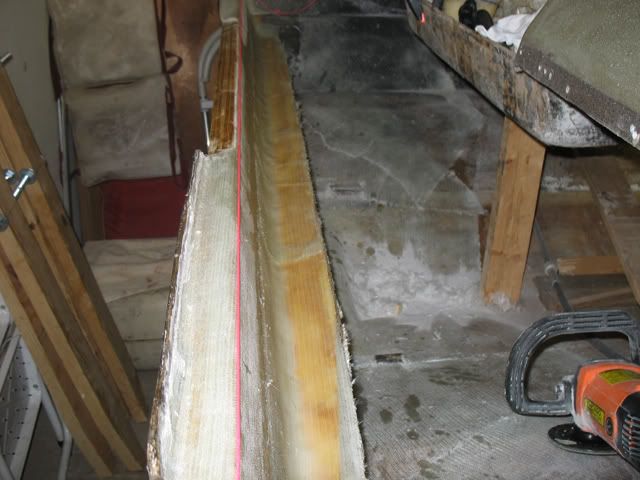
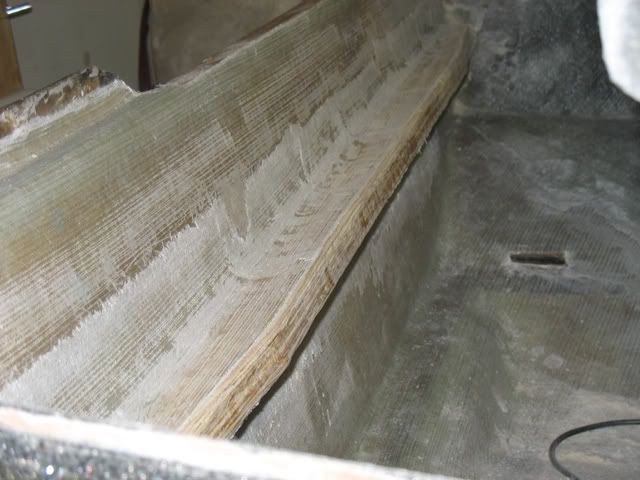
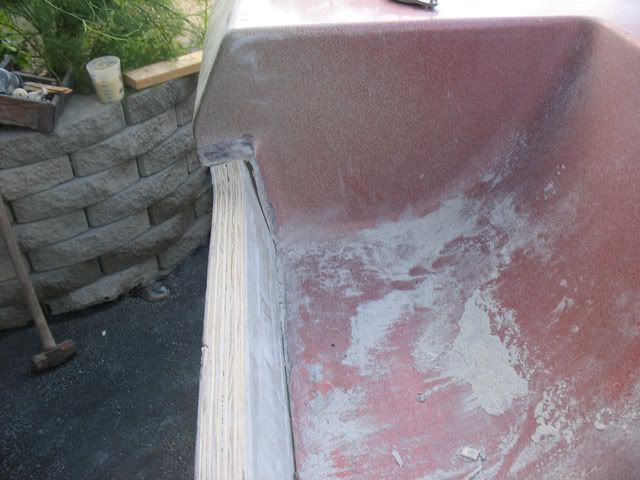
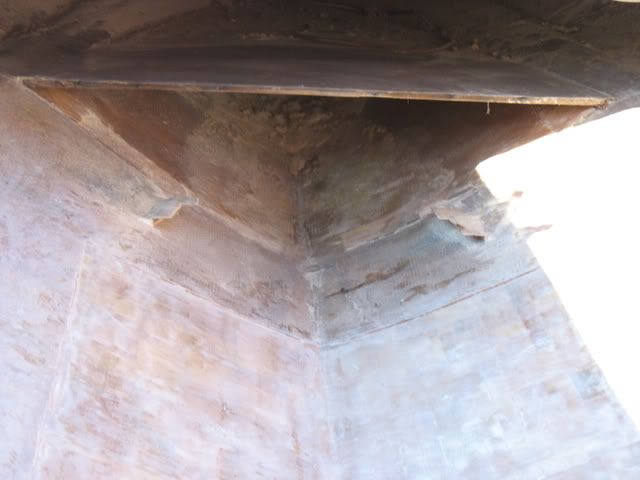
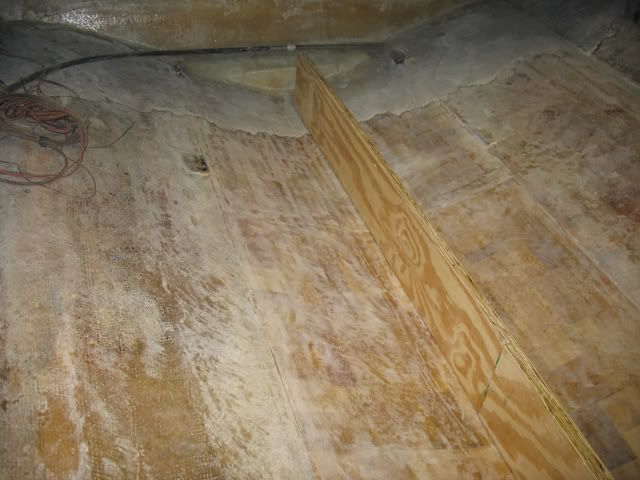
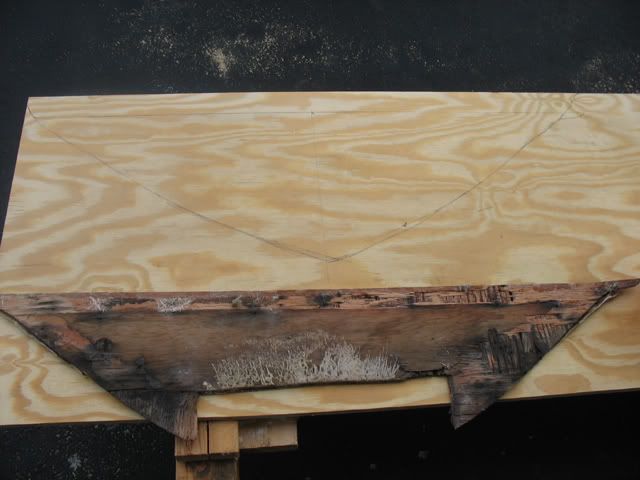
I sanded the 1708 this morning with my disk sander and feathered the edges with my finish sander before the rain.
IMG_3075.jpg


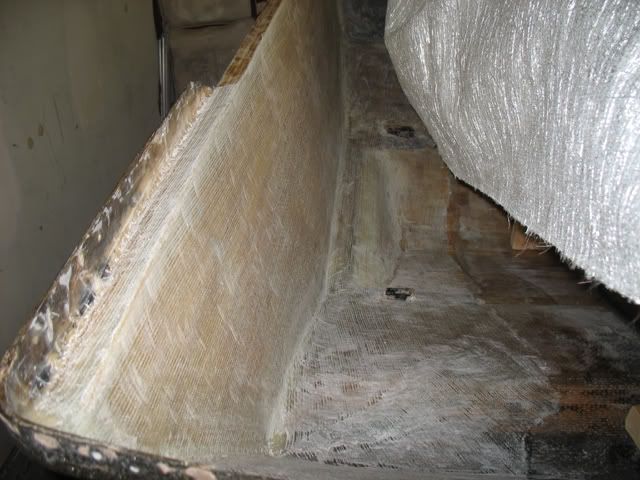
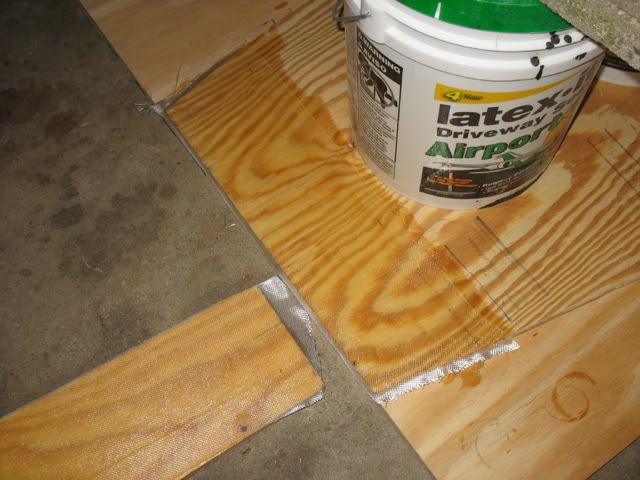
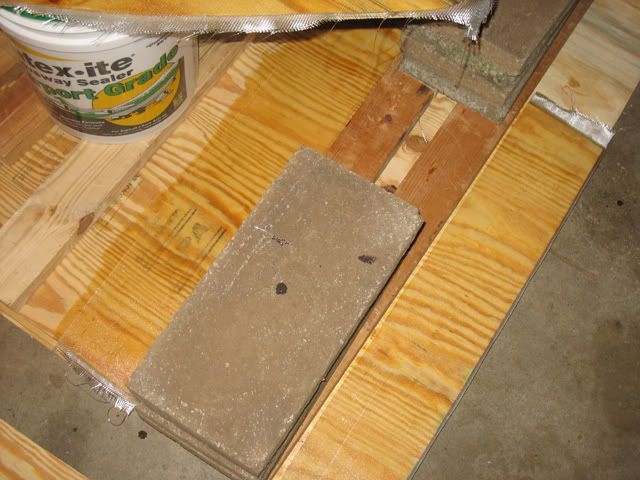
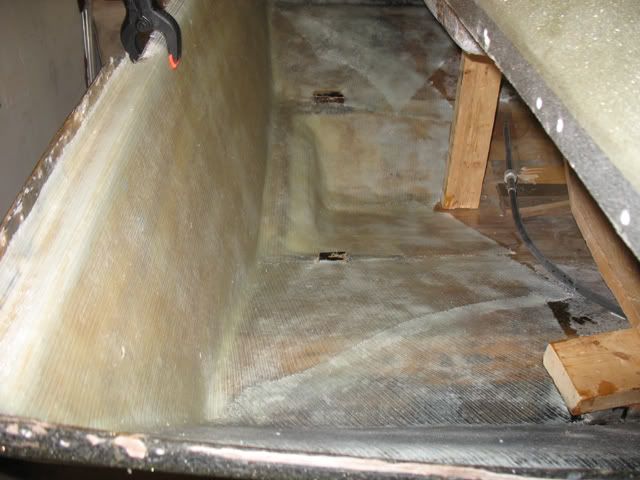
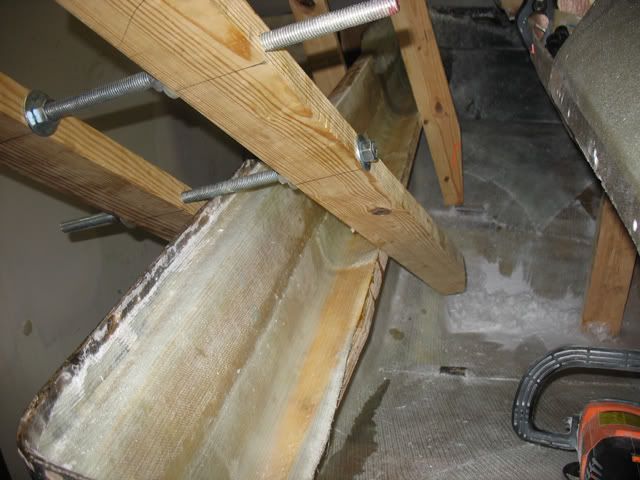
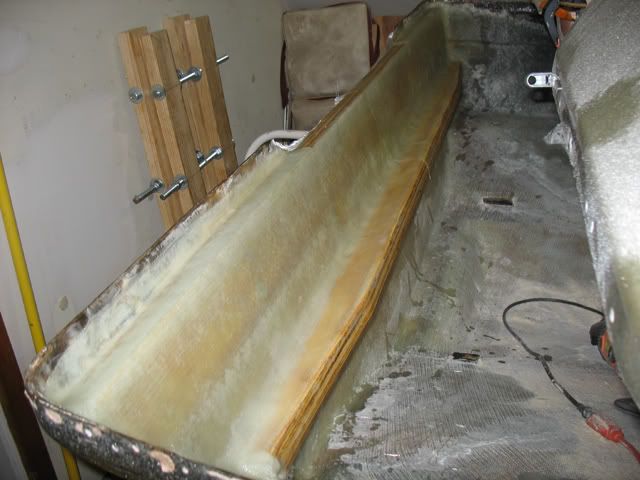
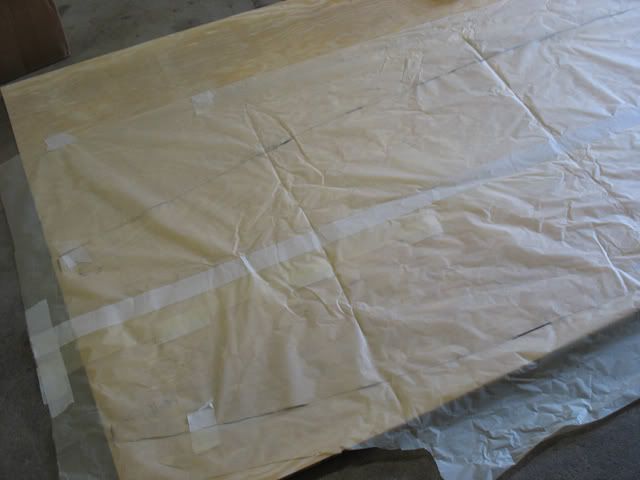
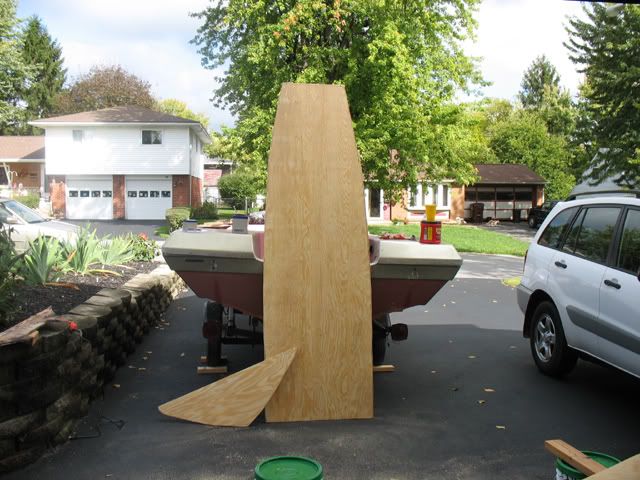
Then I pushed back into the garage for layer #2.
IMG_3078.jpg


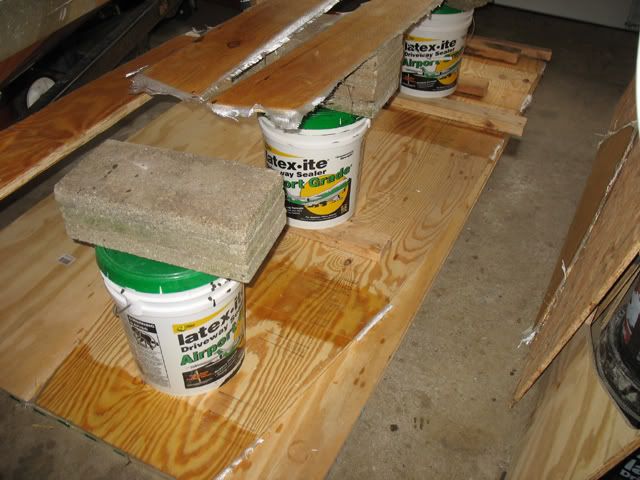
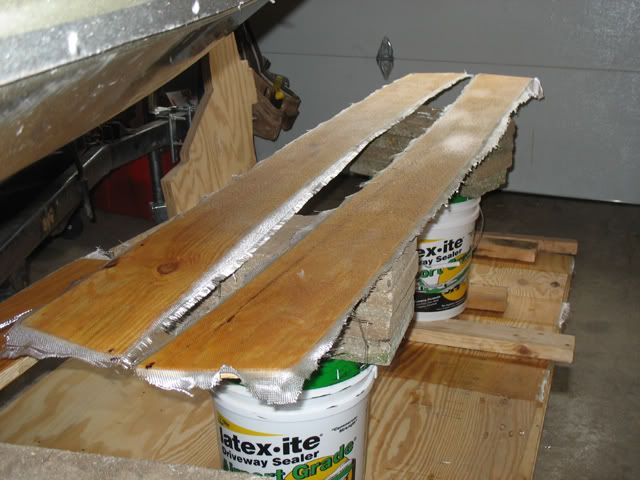
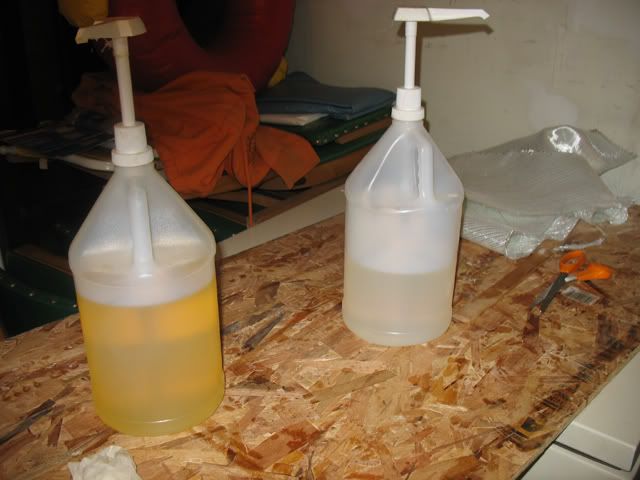
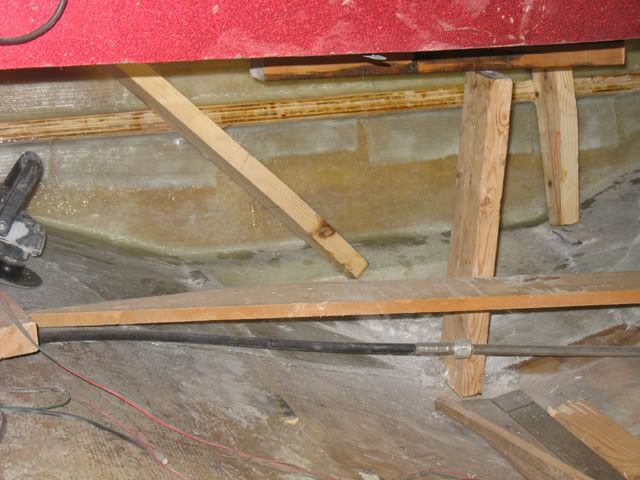
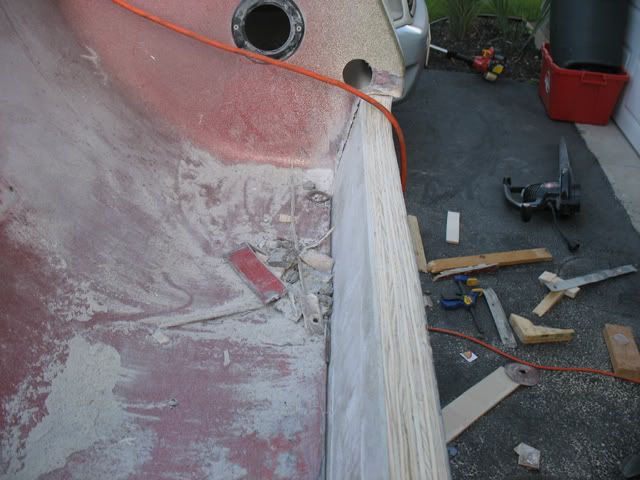
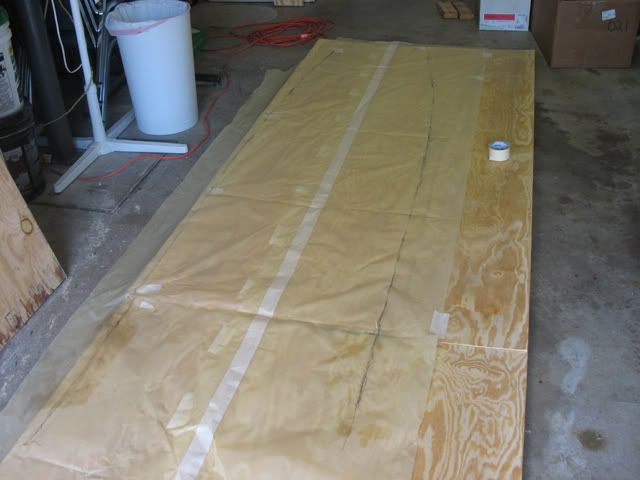
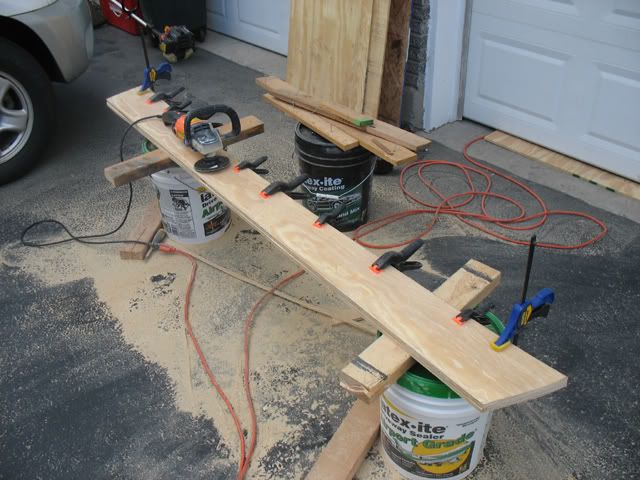
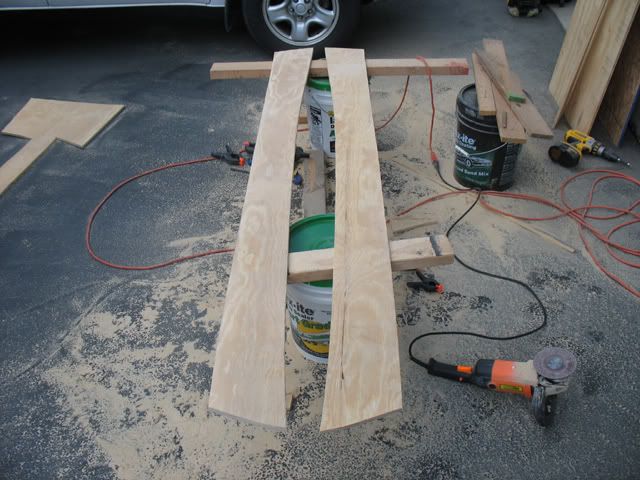
These were full when I started and here is what I went through in two days for two layers of 1708 on the transom.
IMG_3077.jpg


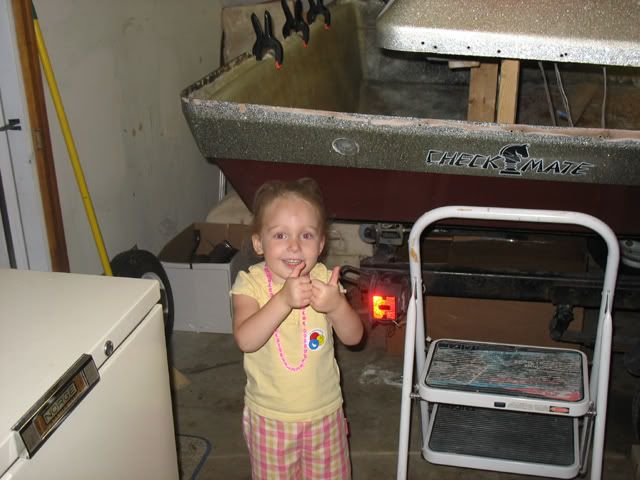
Two thumbs up from the daughter makes it all worth while!
IMG_3079.jpg
 
Finished gluing in the cross support for the transom with PL Premium and also did a fillet. It was on the old transom when I ripped it out and my new transom bowed out about a 1/8" so this brought it in almost perfect.

IMG_3080.jpg

Sanded where the support will be and 2" additional from the top & bottom

IMG_3081.jpg

Big clamps coming in handy again

IMG_3083.jpg

Fillet - rounding the edge with excess PL Premo
 
Well, the PL Premo fillet looked like absolute crap with bubbles this morning when I looked at. I went ahead and smoothed over that fillet with some epoxy pb. I encapsulated the brace at the bottom and the part that was glued to the transom but I didn't the top or the outside so I coated it with some epoxy before adding some scrap 1708. Then I glassed in the top part of the brace and will do the bottom hopefully tonight so I can remove the clamps by this weekend so I can place the cap back on.

IMG_3084.jpg
 
I then added some scrap 1708 to to secure the brace at the bottom.
IMG_3085.jpg


This is how much it pulled straight...I don't have a before picture to compare
IMG_3086.jpg


Sanded the tabbing down and rounded the edge of the brace
IMG_3087.jpg


Then added 10oz. cloth over all of the brace and transom for that matter. This isn't really for structural support but rather the pretty up the job and to seal the edge of the brace.
IMG_3089.jpg


As for the delamination, I'm going to leave it as is. It doesn't have any give in it like there is an air pocket and the transom was encapsulated prior to installation. If there are any worries, it would be structural and I don't think that area will be of concern for me as it's well glassed around the sides and bottom. I do plan on putting boating putty or what not in that area to seal the cap/splashwell in so it should be sound.
 
While waiting for a way to get more plywood, I put the cap back on the hull which was quite the task since the transom was out-of-whack from being bad for so long. I ended up having to cut into the splashwell to get it back on to fit. It just requires additional glassing which will probably be better in the long run where it will fit better around the transom.

IMG_3139.jpg


IMG_3140.jpg


IMG_3145.jpg
 
After that, I got in and did some sanding on my glass work over the balsa core so I don't have to deal with it other then cleaning and glassing with 1708.

IMG_3144.jpg


Then I went the the bow and removed my bulkhead to have better access to the foam so I could remove it. The stuff was nasty to remove but was dry. I did leave the bow deck in place just for added support until I get the new main deck and stringer in then it will be removed and replaced.

IMG_3141.jpg


IMG_3142.jpg
 
Finally picked up some wood. The wood I picked up was pretty dry so I went ahead and cut my stringers which comprised of (3) 8' foot sections of 1/2 plywood. I overlapped two of them by 4' and glued them and took the other 8' section and cut it in half and glued onto the remaining section. This gave me a total length of 12' which is well more then I needed for my stringer.

IMG_3230.jpg


IMG_3231.jpg


IMG_3233.jpg
 
Then I cut it to rough length then placed where it's going to sit. Then I took a piece of wood and drilled a hole approximately 1/2" up big enough to fit a pencil so I can scribe the bottom so I can replicate the contour of the hull to the stringer. Then I cut to size and refitted which is pretty good. After I finish the core repair and lay a layer of 1708, I'll be able to sand the bottom of the stringer so it fits better then cut the top of the stringer to size.

IMG_3234.jpg
Wood place in hull

IMG_3236.jpg
Scribing the contour of the hull

IMG_3235.jpg

Homemade scribing tool...had to break the pencil in half so I could scribe the bow area since the pencil was too long and used a screw to hold pencil in place.

IMG_3237.jpg

Fitted stringer look toward the bow

IMG_3238.jpg

Fitted look toward the stern
 
Update time! I hit the boat first thing this morning and was able to accomplish a lot. I cut some major pieces that include my deck, front bulkhead and gunnel boards. Before I took the grinder to the lip from the previous deck, I made a template with tracing paper. It wasn't the easiest thing to do but it worked. Today, I taped the template to the 1/2" plywood and took my knife and cut a slit into the paper so I could pencil a mark. After making an outline of sorts, I simply connected the dots that were left on the wood.

IMG_3242.jpg

Tracing paper template of the deck

IMG_3243.jpg


IMG_3247.jpg

Using the jig saw to cut out the deck
 
Next, I cut out my forward bulkhead by simply using the existing as a template and using the jig saw to cut out.

IMG_3244.jpg


IMG_3248.jpg


Then I moved on to the side gunnel rails. These are the boards that run on the top of the inside of the boat that are usually cushioned. I only had one to work from as the other had rotted years ago and the one I did have was in pretty bad shape. I did manage to trace a template from the original and then I cut the first one by cutting 1/4" away from the line. After that one was made, I flipped it over (using BC grade ply and I want good ply on the outside for both pieces) and clamped it down and cut it by using the first piece. Afterwards, I left them clamped and sanded down to the finish line for both so the matched exactly.

IMG_3249.jpg

Clamped together during cutting and sanding.

IMG_3250.jpg

Matching gunnel rails
 

Chris

Administrator
Staff member
Thanks red!

I very much appreciate you taking the time to post this up!

I know your step by step detailed pics, will help a number of people long into the future. :thumb:

-Chris
 
Here are some pictures to update with. It's been slow going as I've been toying around with some thoughts and ideas.

I've been glassing the underside of the deck for a week now using 6" tape cloth (10oz). Yes, watching paint dry would be more fun but I hava a whole roll to use up and I'm in no big hurry since I still have bad balsa to remove. Hopefully this will reduce the amount of crown of the 1/2" wood after I take the weights off.

IMG_3252.jpg

Front

IMG_3253.jpg

Back

IMG_3260.jpg

Overall

I also have the stringer glassed on both sides. I used 6" cloth on this also since the tallest part of the stringer/floor support will be approximately 5.5" so the part not glassed will eventually be cut off and both edges sealed. Depending on how much cloth I have left, I may go ahead and glass the edges also.

IMG_3255.jpg

Stringer

Here is my bulkhead or whatever you call it glassed on both sides. It too will require final trimming and edges sealed.

IMG_3254.jpg

Bulkhead

Lastly, I have one side of my rail boards glassed and will probably glass the other side tonight. I did not use my tape on these as they were wider then 6" so I had to cut out of my large roll of cloth.

IMG_3261.jpg

Gunnel rails
 
Here is an update on progress...I have all my pieces glassed on both sides except my deck. I have the bottom side glassed but will do the top side after installation. Meanwhile, I bought a Silverline tri hull for an extra motor. I bought the boat, motor and trailer for $500. Here are some pictures.

IMG_3296.jpg


IMG_3297.jpg


IMG_3298.jpg


IMG_3299.jpg


IMG_3300.jpg


IMG_3305.jpg
 

Gene B

New Member
Hi,

Looks familiar. I spent 2 1/2 years restoring a plywood trimaran. Some tips I picked up along the way:

You can use old margarine tubs for mixing pots if you run them through the dishwasher first to get rid of any trace of oil.

There is a wide range of thickening agents, from talcum powder and wood powder to microballoons, depending on the characteristics you want.

Thickened epoxy heats up faster, especially in a big batch. I have had some luck with mixing it in the bottom of a plastic pail to give it more surface area to dump heat.

My favorite tool for working thickened epoxy is a chemical spatula with a spoon shape at one end (for scooping thickener) and a long, narrow flat blade at the other. I got mine from Fisher Chemical, though I don't know where you might find one in Ohio.

When working with epoxy, you can clean up with vinegar instead of acetone; cheaper and safer.

Good luck in your project.

Gene
 
Thanks for all the tips. I'm using microballons for a thickening agent and sometimes I add homemade glass fibers for added strength. I learned the hardway about mixing too much at a time so I work in smaller batches.

I have several tools for glassing and the main tool I use is the cheap chip brush that I use for a couple of days then dispose of. If glassing 1708, I'll occasionally use a fiberglass roller and for fillets I use a paint stir stick that I rounded the edge on. For distribution, the best thing I found is a straight up 1:1 pump.

I never heard of vinegar being used for clean up. I will definitely give that a try as the acetone will knock you sideways if not using the respirator.
 
Top