bigredinohio
Member
Feel free to ask questions or comment regarding to the content of this thread.
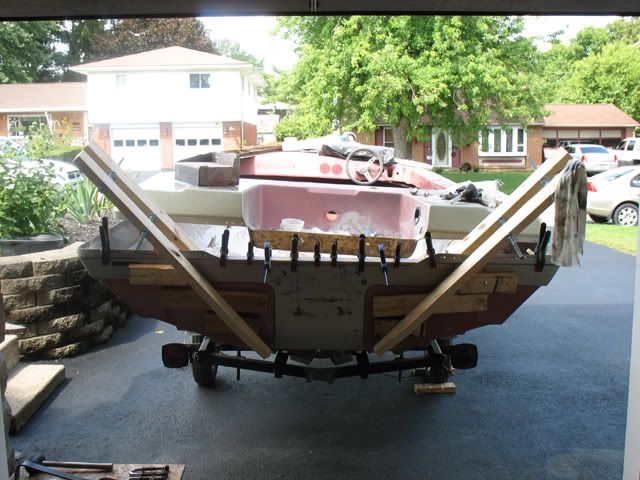
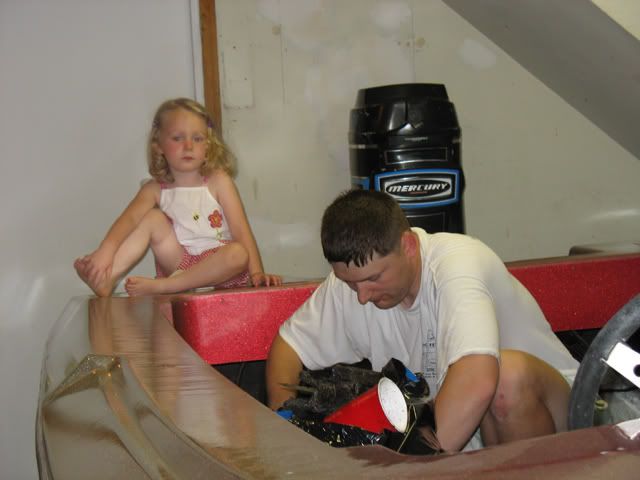
My first attempt at restoring an old boat. I decided to go with this little old boat as I thought it had character and figure you can't go wrong with a Checkmate. I probably overpaid for it but it was under $1000.
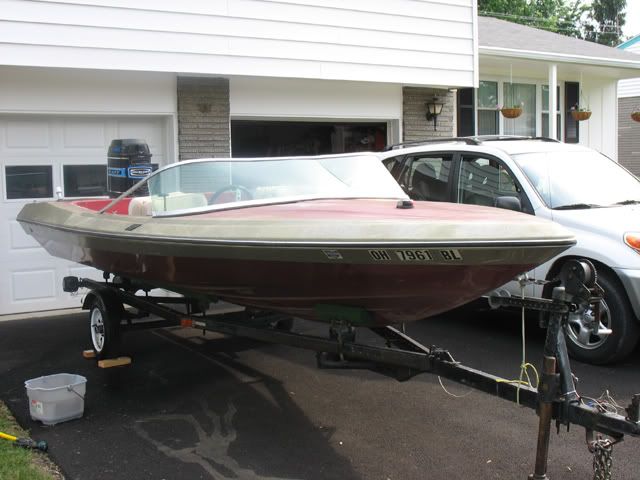
what I brought home
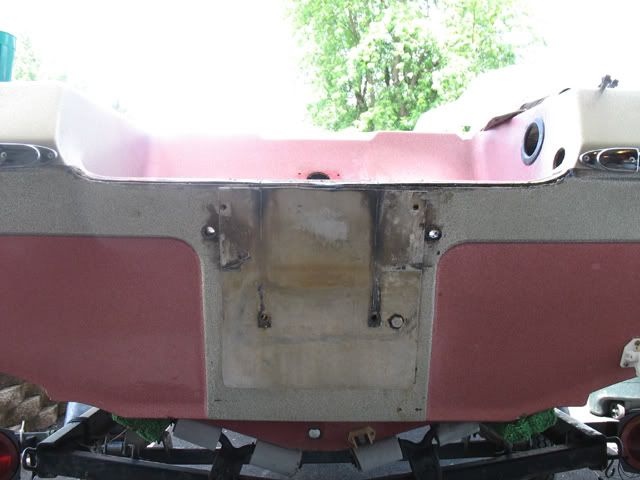
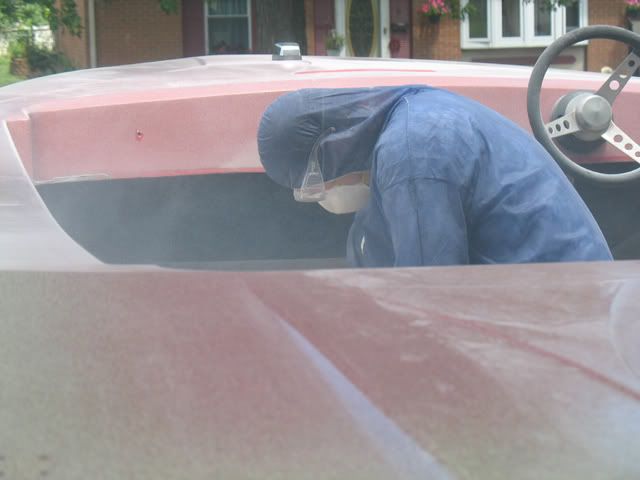
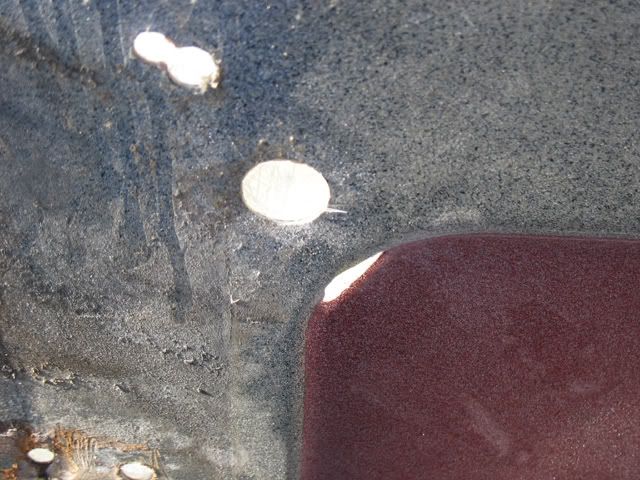
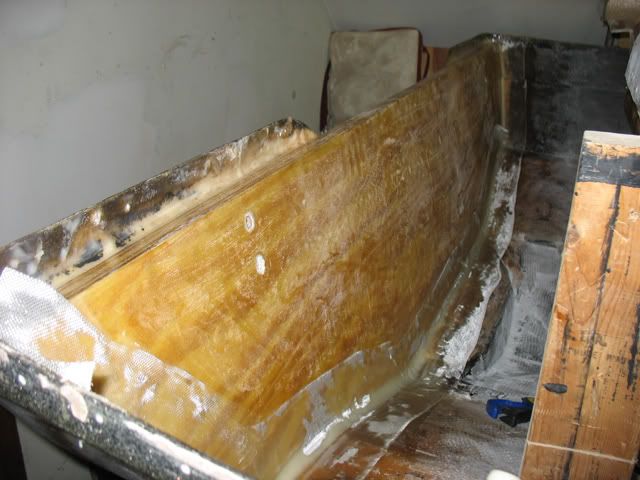
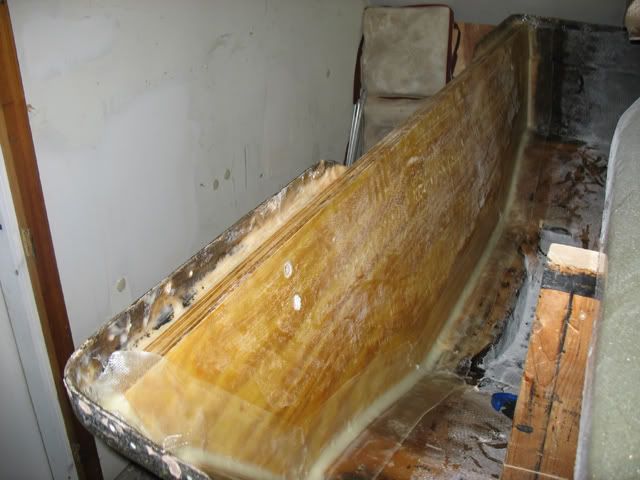
I decided to clean the outside and buff the top to see if I could restore any of the gel coat. It did smooth out somewhat but unfortunately it did not restore any color and probably too far gone for simply "sanding and buffing" back to it's original state. I've had some great input in another thread in the gel coat section which is still on-going. I have not made up my mind as to what I want to do
 but my wife just wants the boat to function and worry about looks down the road.
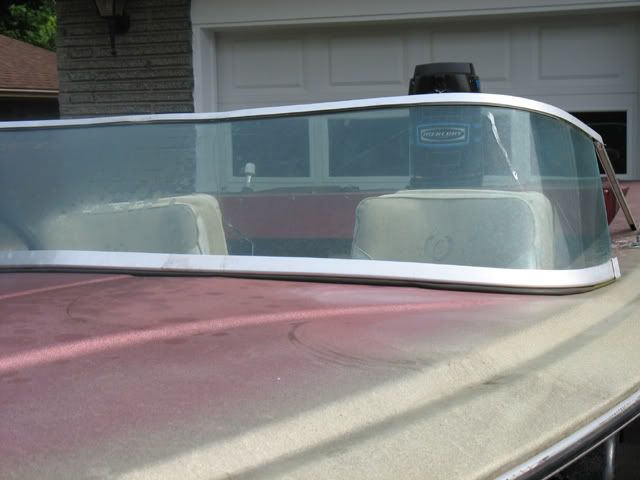
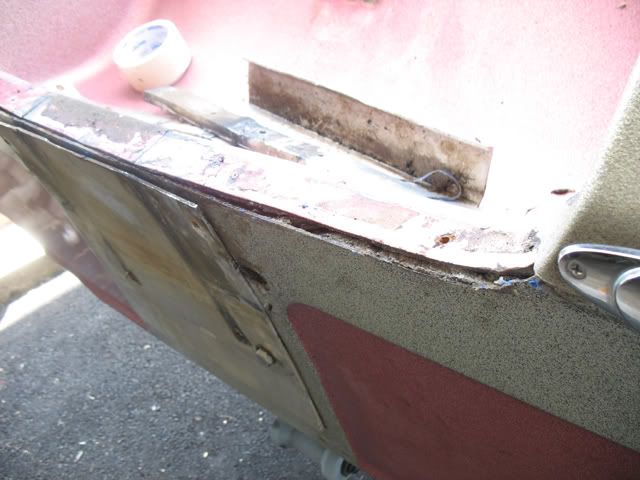
before buffing
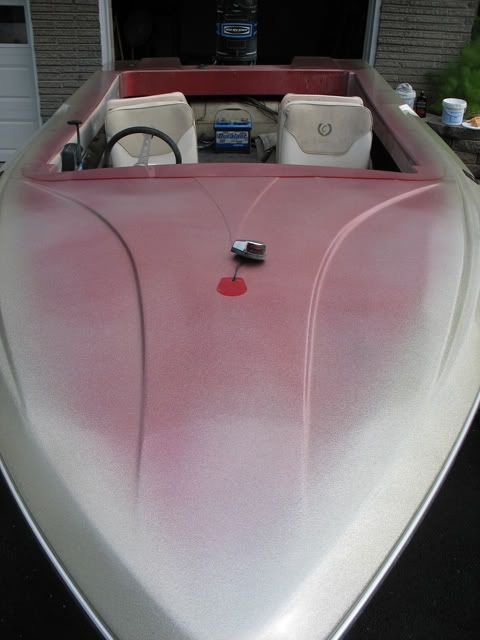
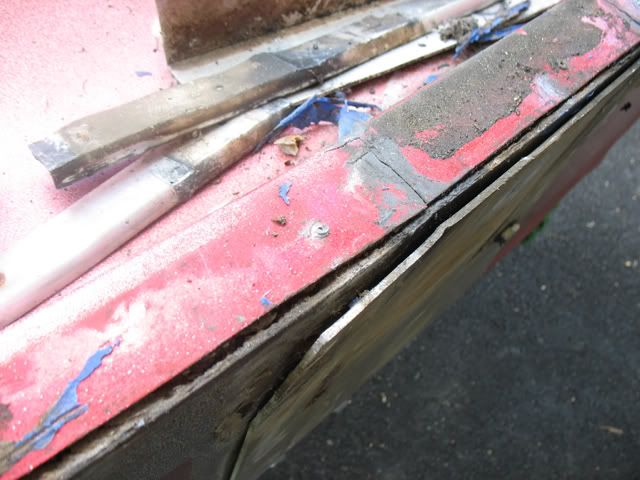
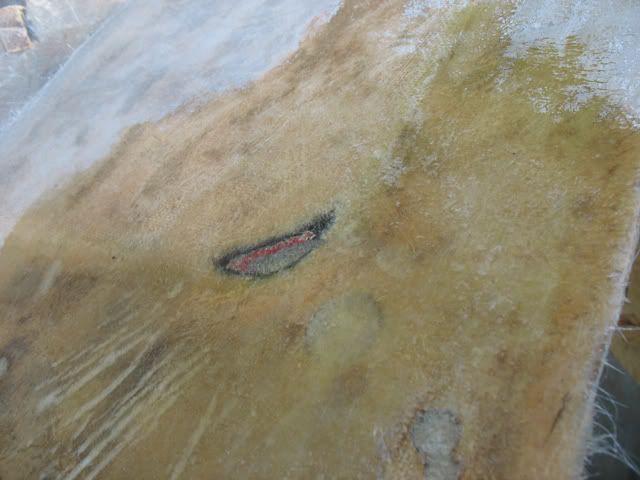
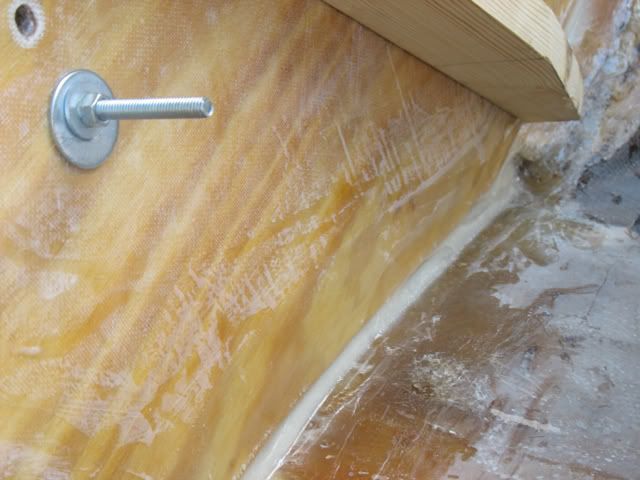
after buffing...you can notice the difference in colors and "blotch" effects
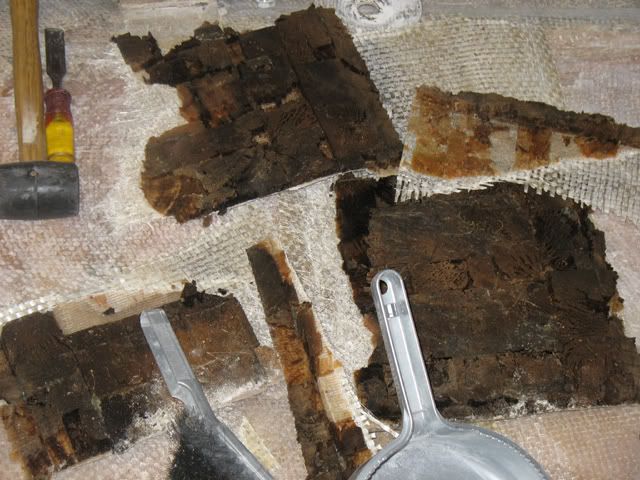
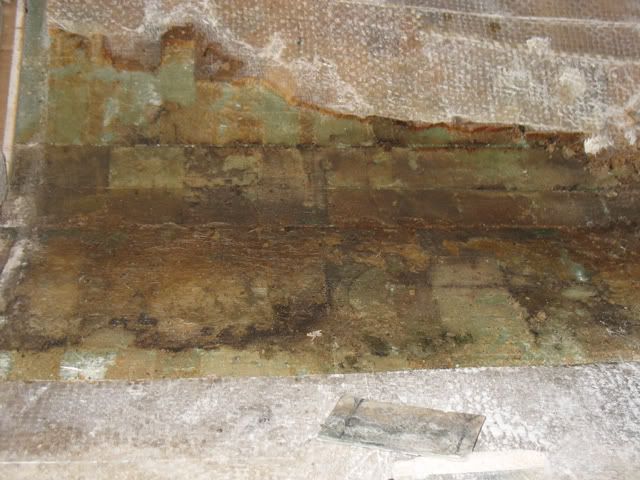
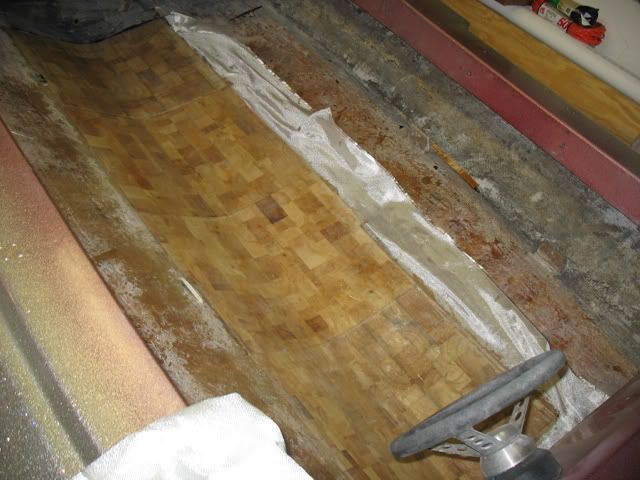
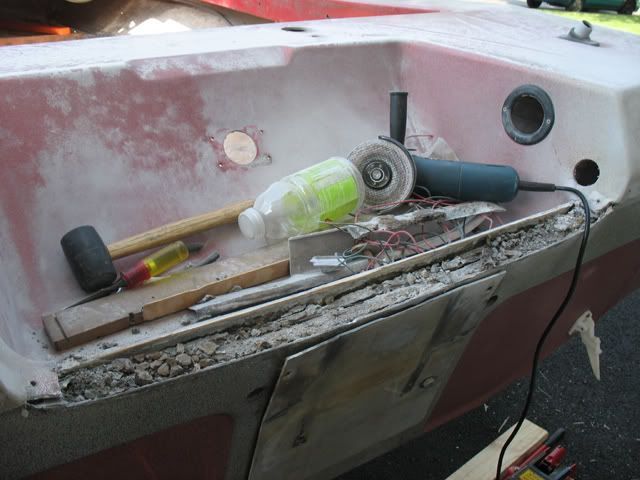
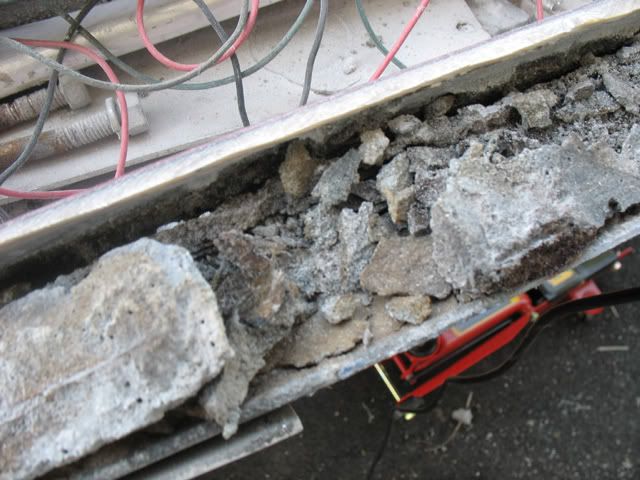
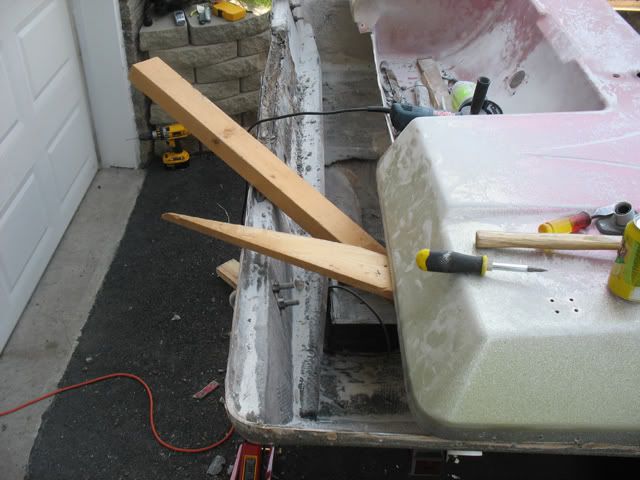
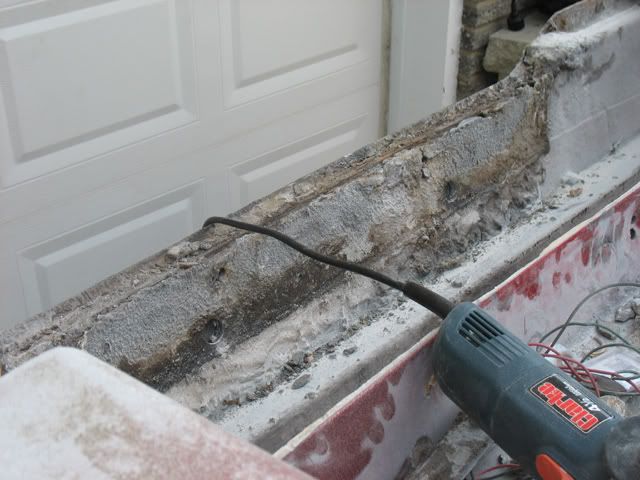
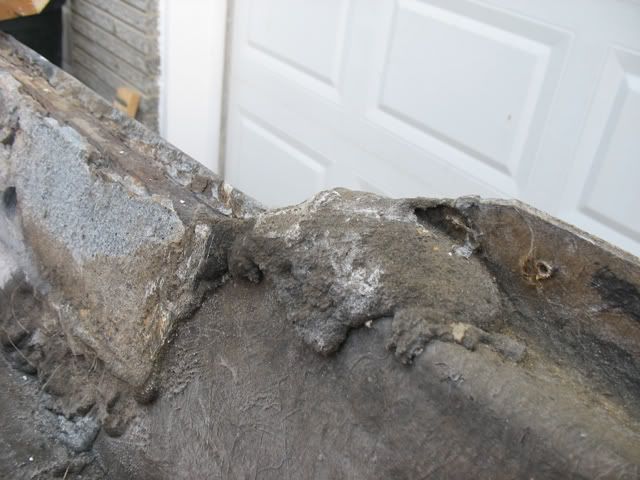
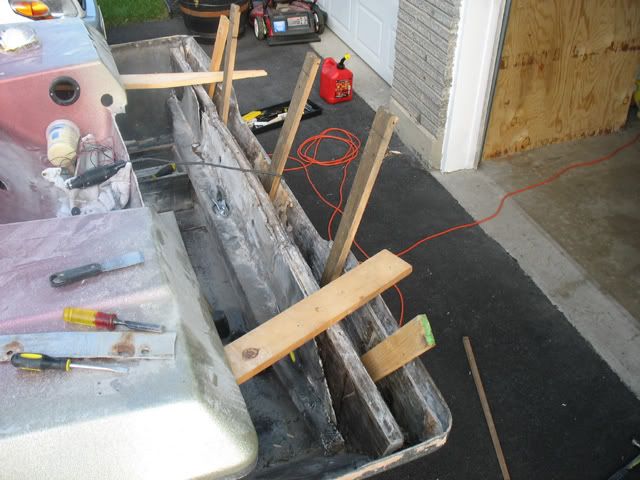
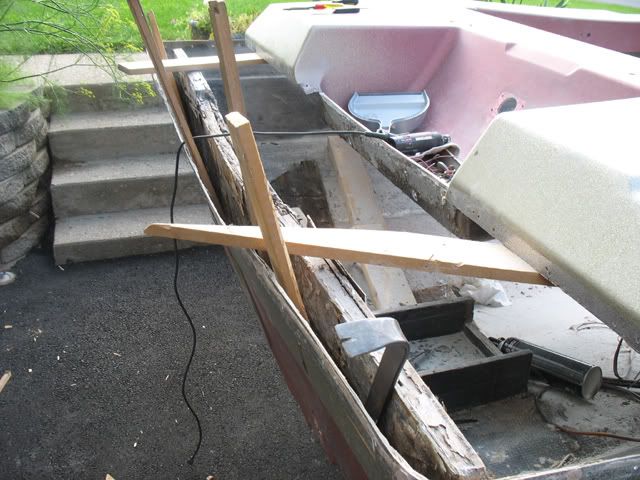
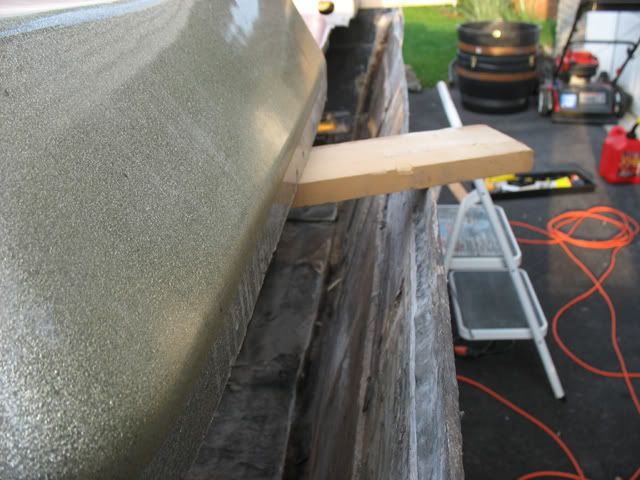
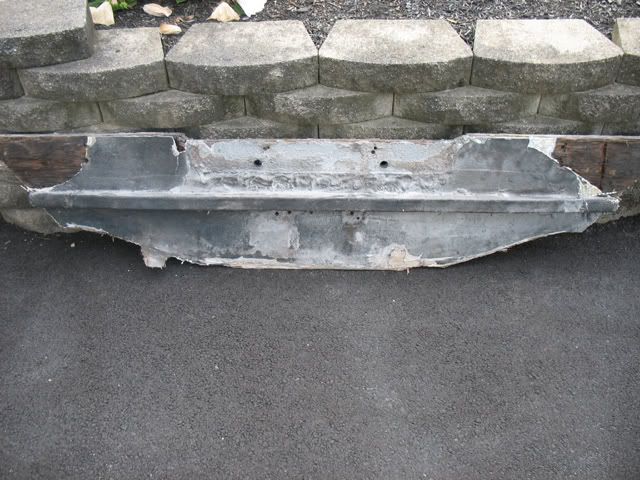
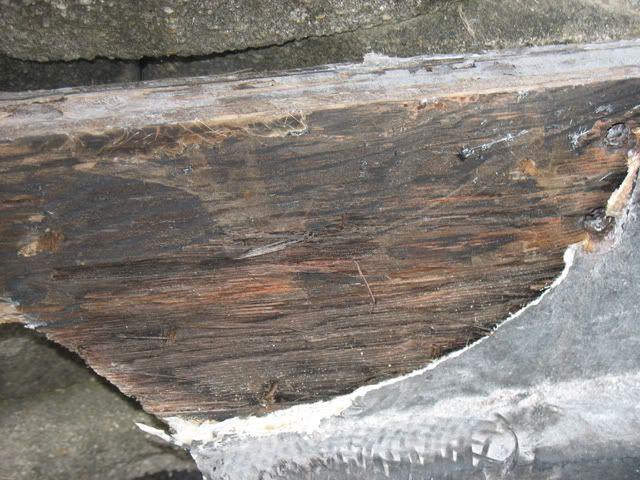
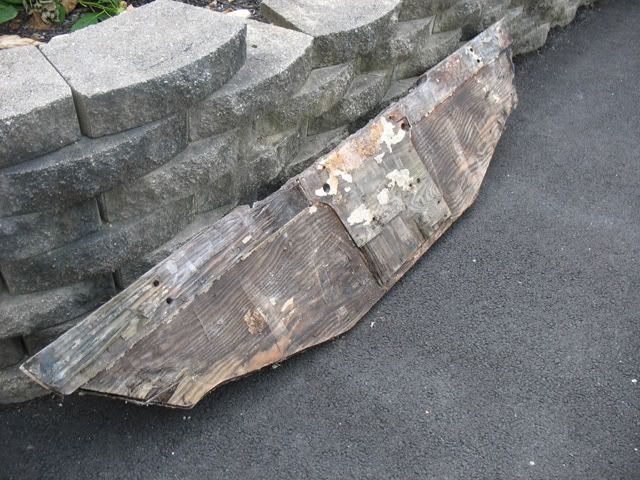
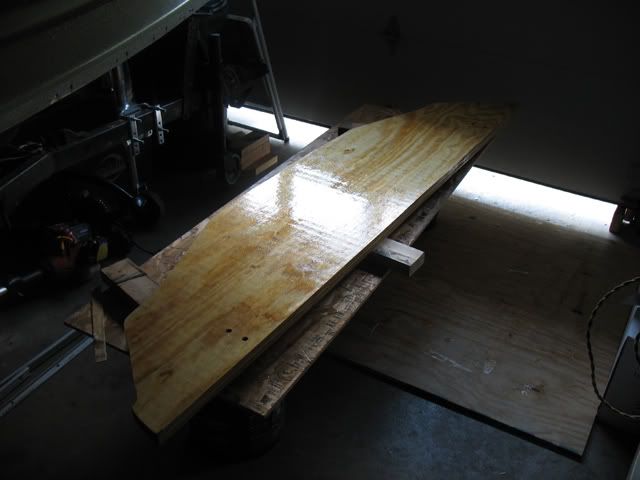
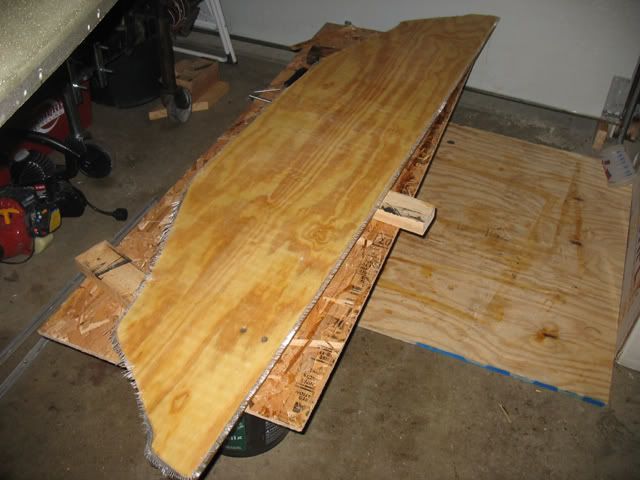
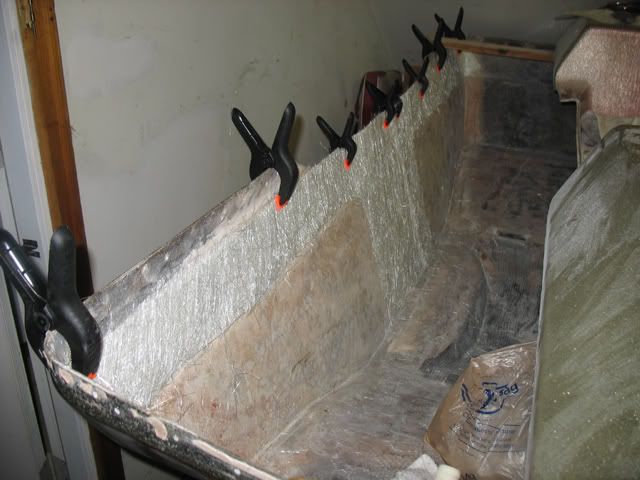
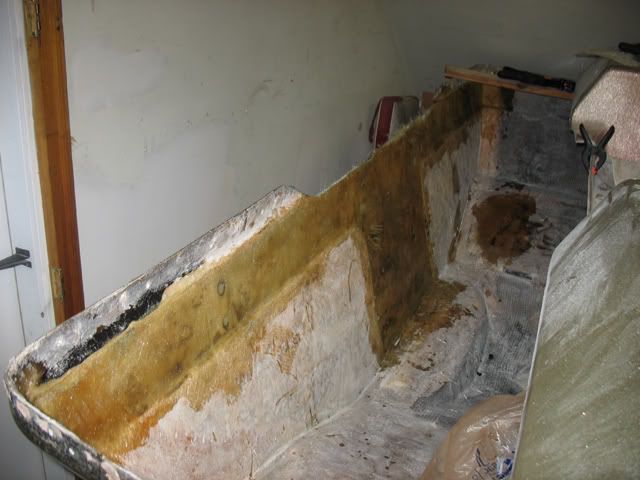
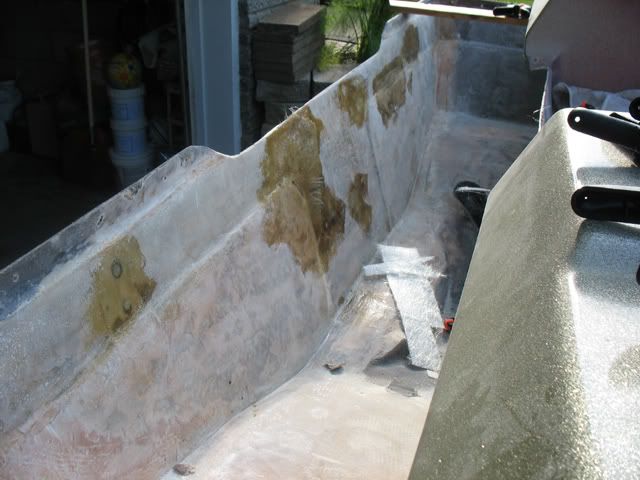
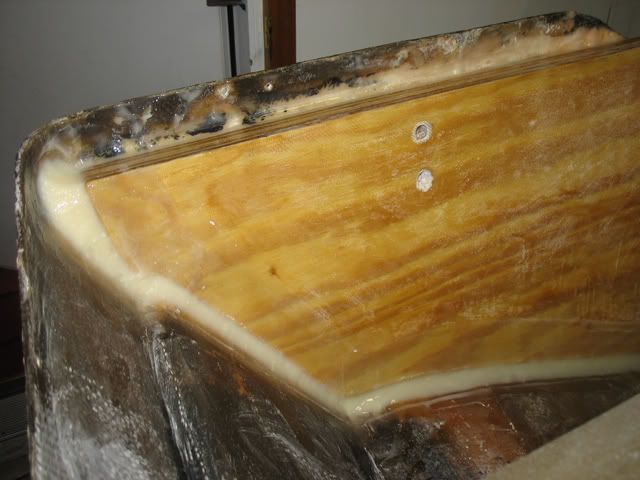
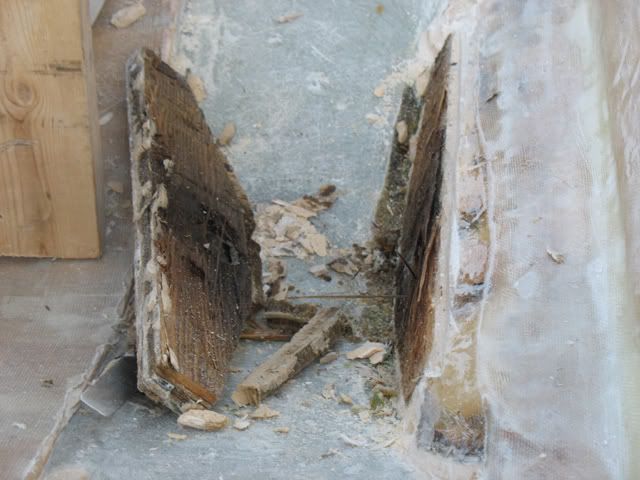
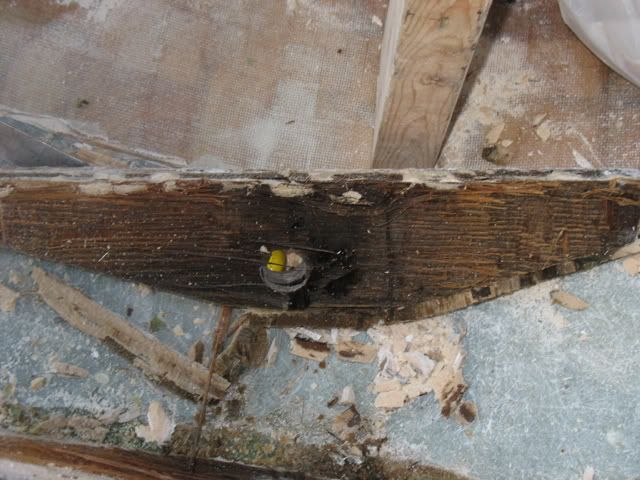
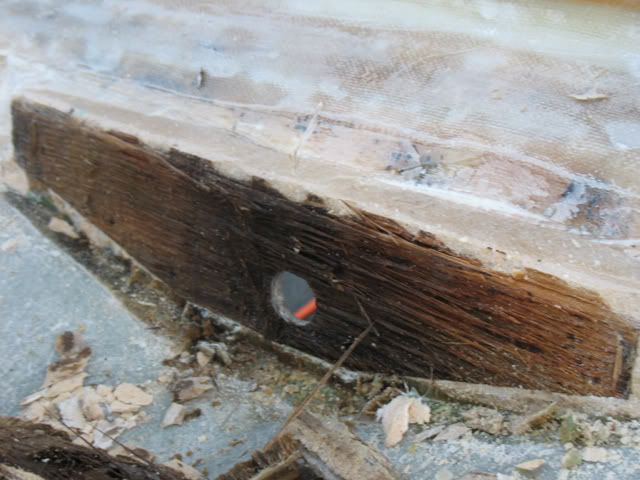
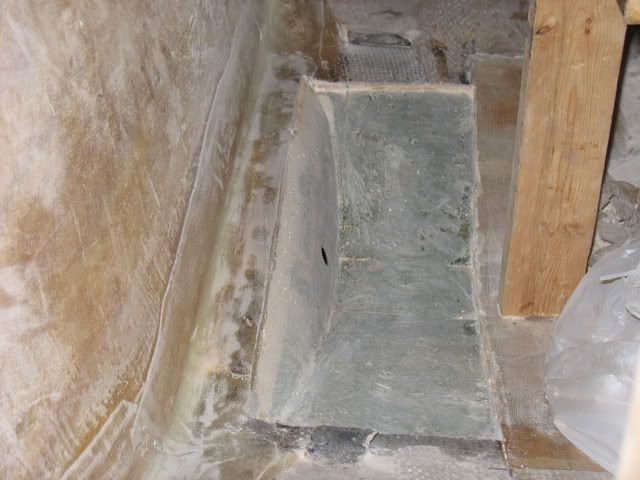
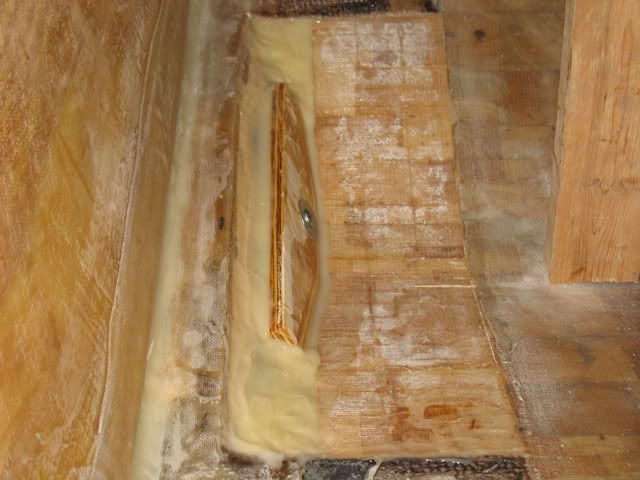
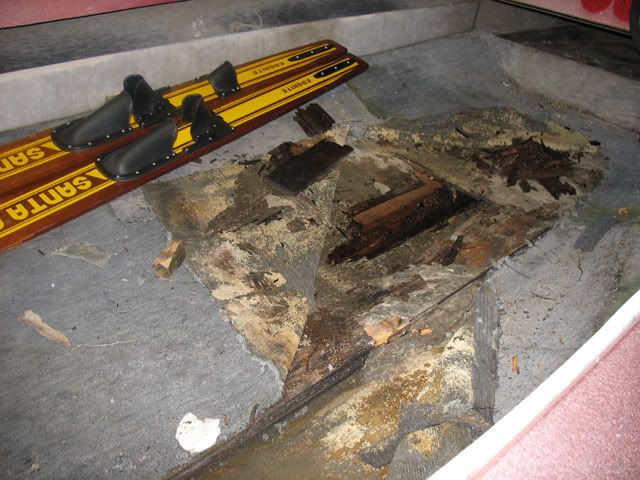
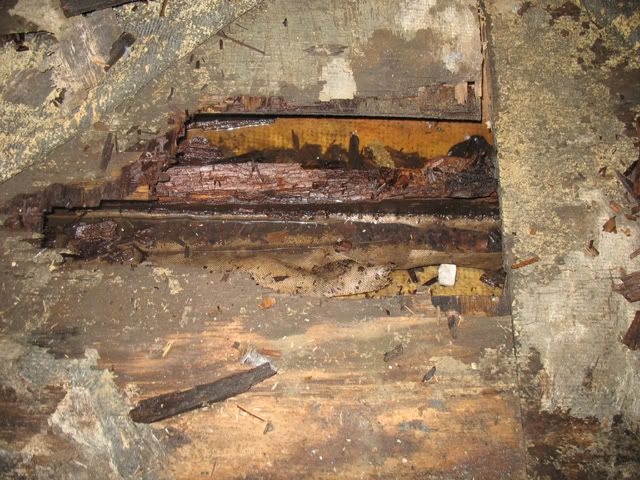
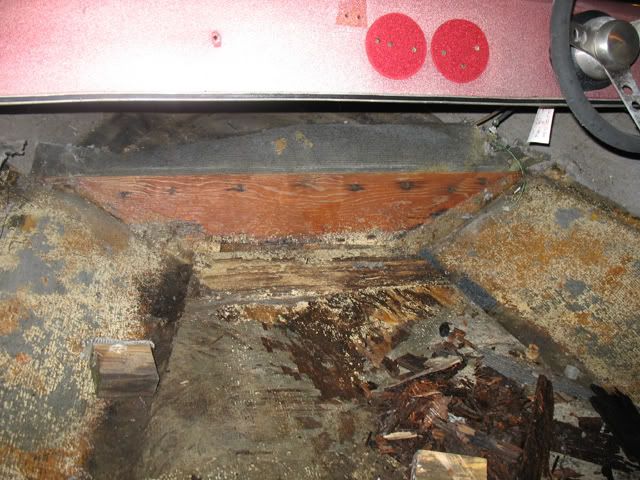
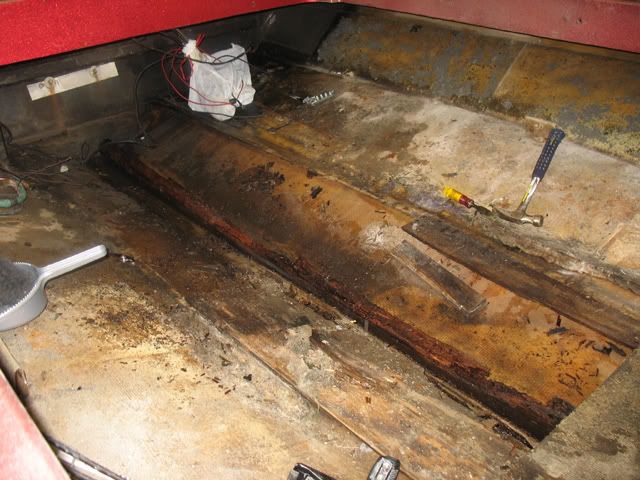
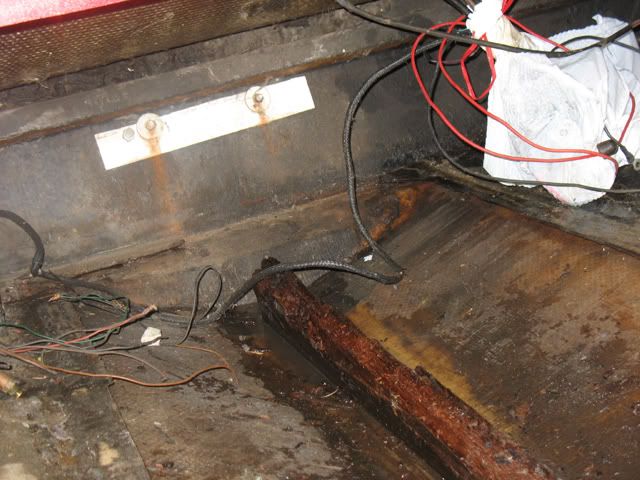
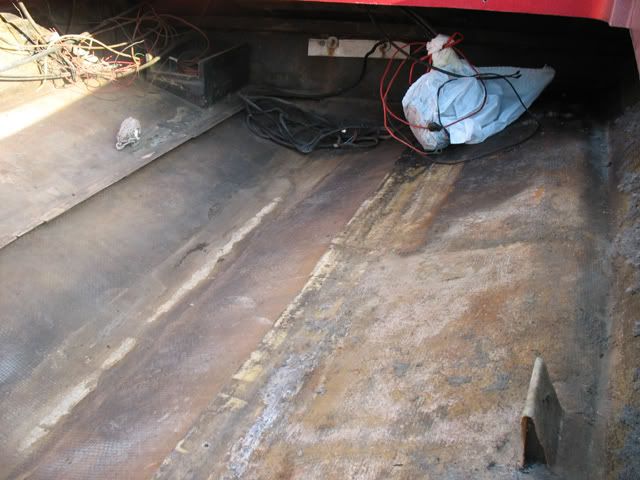
Now I'm in the process of gutting the "soft" floor out of the boat. To my surprise, T-111 wood siding was flipped over and used as the flooring. Also I saw a lot of water standing in the bottom and my stringer is just nasty!
sample removal of carpet with flooring coming up with the carpet
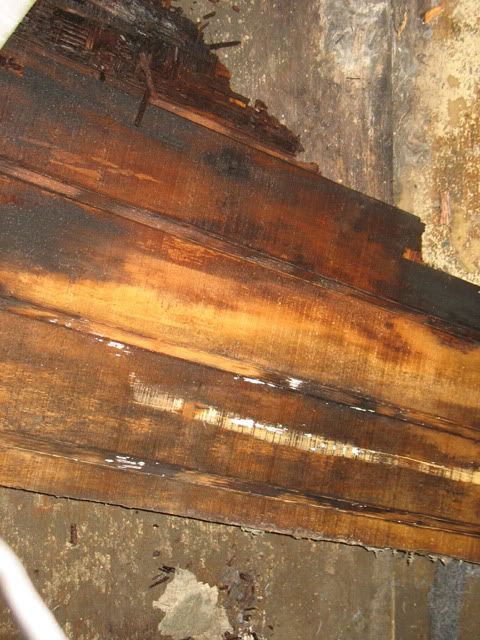
stringer sitting in water
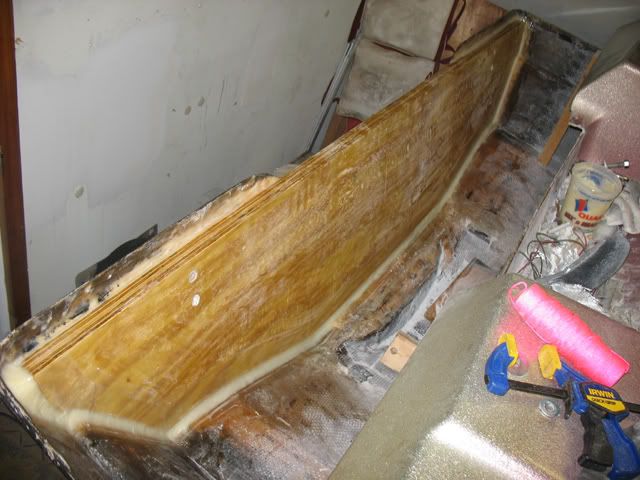
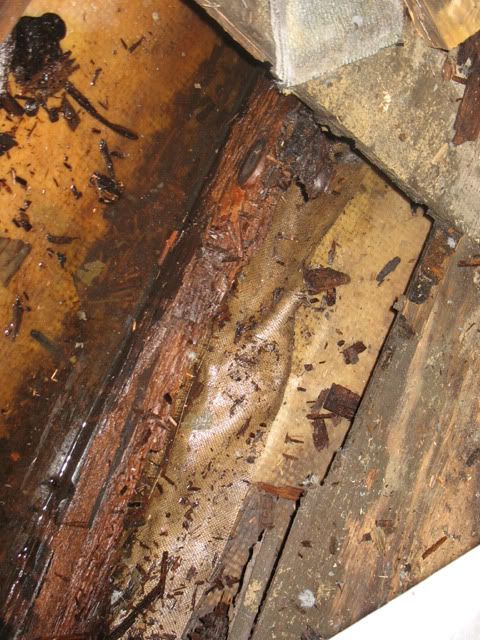
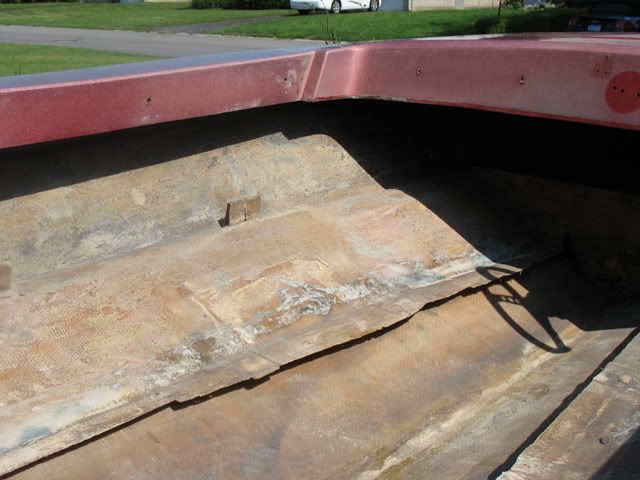
T-111 flooring!
stringer sitting in water
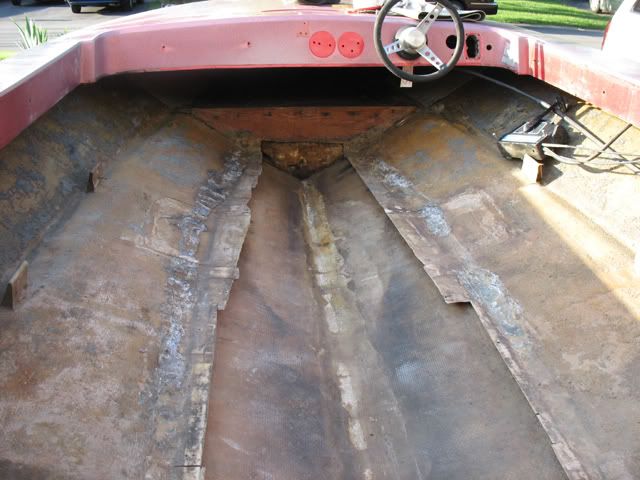
a look up towards the bow
My first attempt at restoring an old boat. I decided to go with this little old boat as I thought it had character and figure you can't go wrong with a Checkmate. I probably overpaid for it but it was under $1000.
what I brought home
I decided to clean the outside and buff the top to see if I could restore any of the gel coat. It did smooth out somewhat but unfortunately it did not restore any color and probably too far gone for simply "sanding and buffing" back to it's original state. I've had some great input in another thread in the gel coat section which is still on-going. I have not made up my mind as to what I want to do
before buffing
after buffing...you can notice the difference in colors and "blotch" effects
Now I'm in the process of gutting the "soft" floor out of the boat. To my surprise, T-111 wood siding was flipped over and used as the flooring. Also I saw a lot of water standing in the bottom and my stringer is just nasty!
sample removal of carpet with flooring coming up with the carpet
stringer sitting in water
T-111 flooring!
stringer sitting in water
a look up towards the bow
")