Restoration in progress

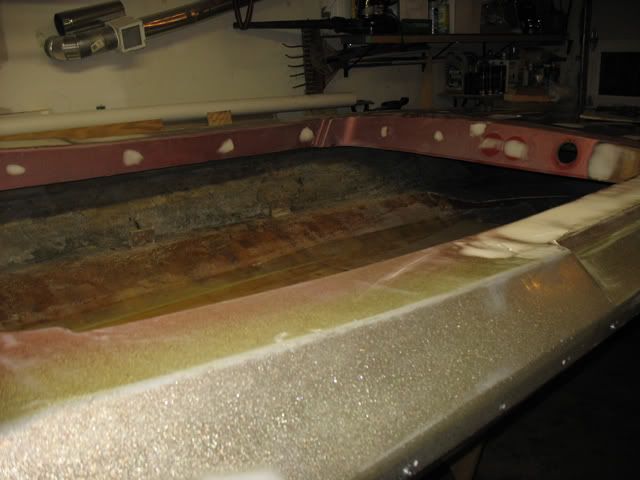
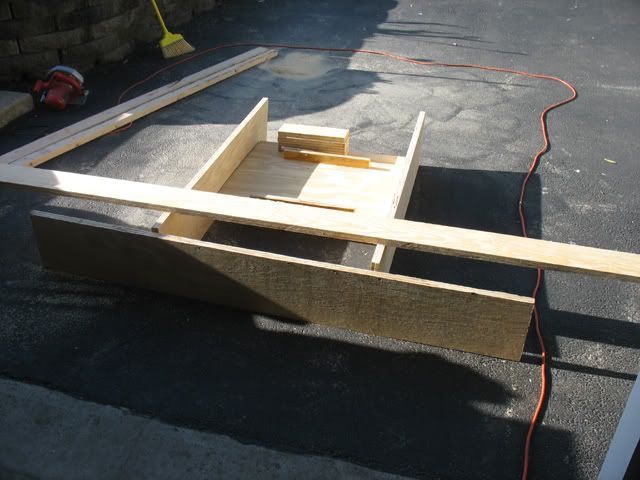
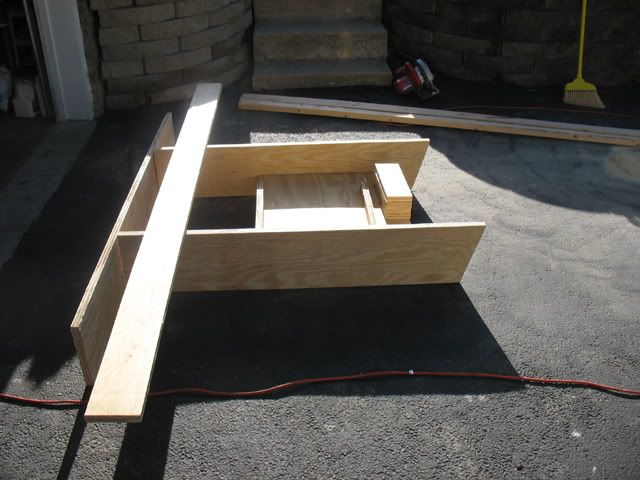
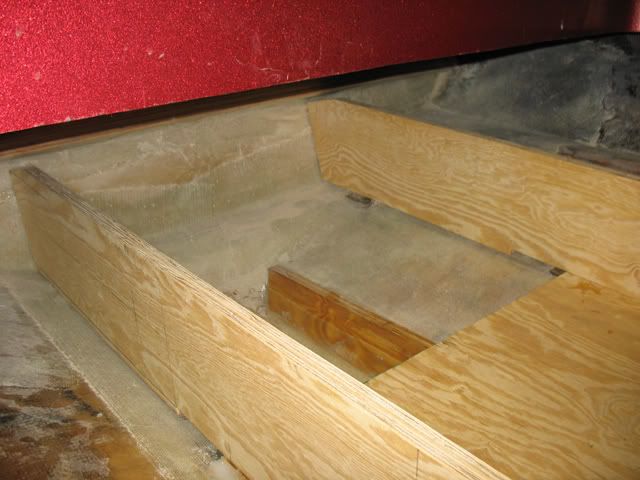
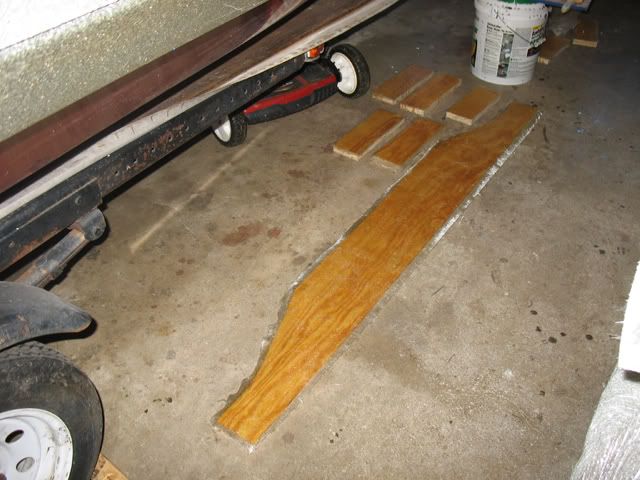
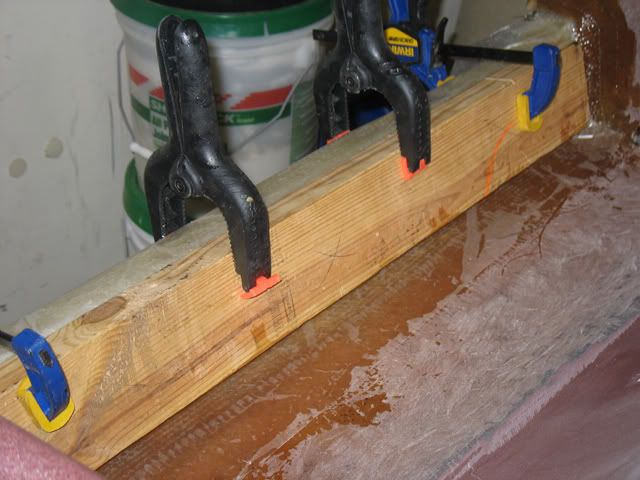
I made some progress by installing my deck. I glued it in using PL Premium then weighed it down with everything I could find. After setting it in place, I then filled in the seams with the leftover glue.

IMG_3614.jpg


IMG_3615.jpg


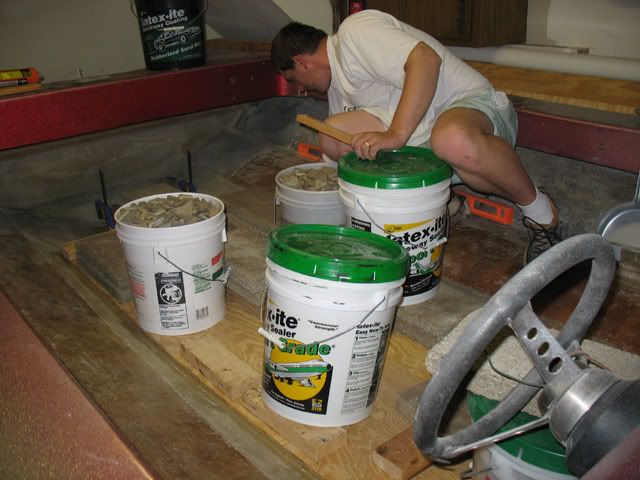
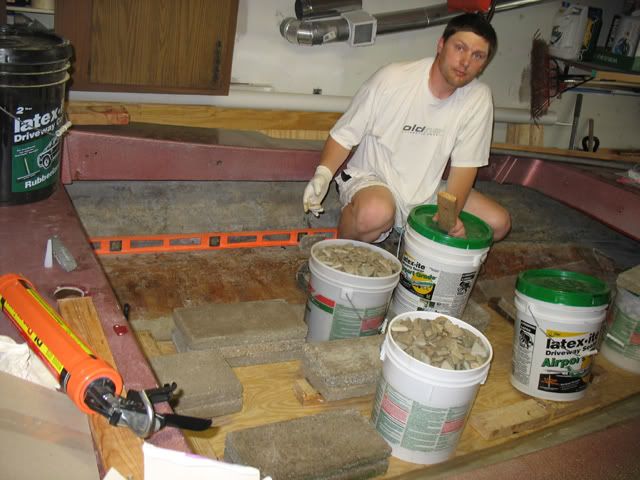
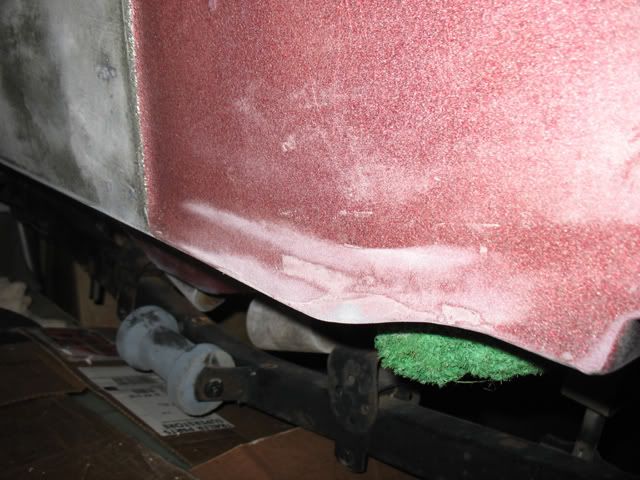
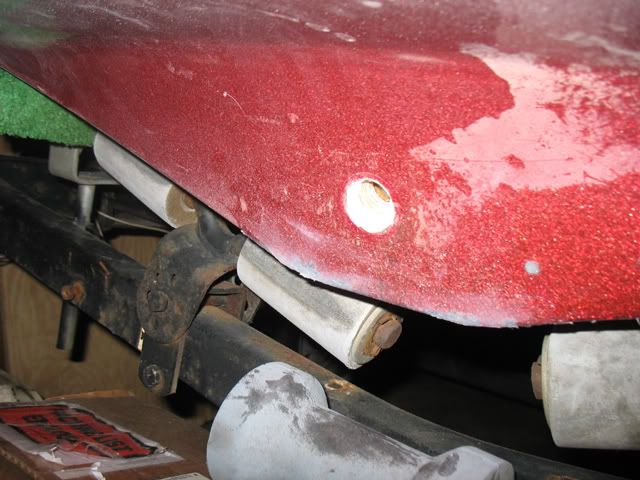
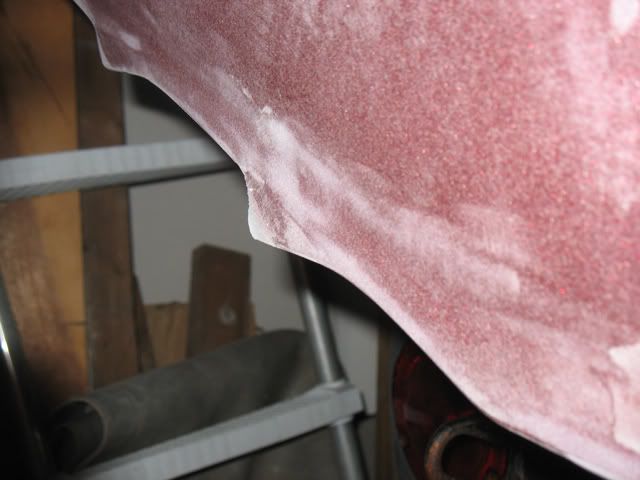
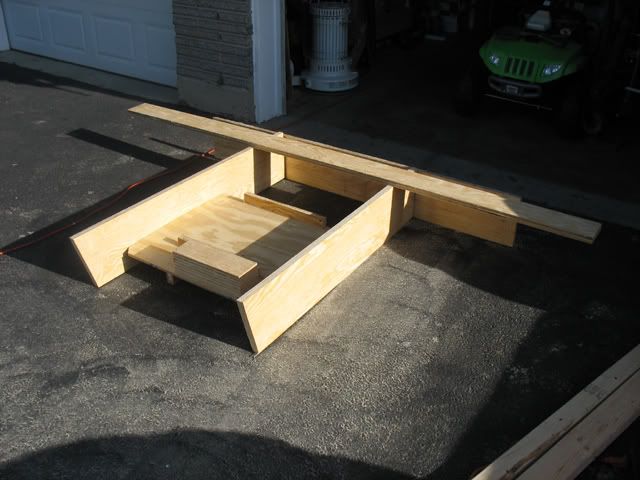
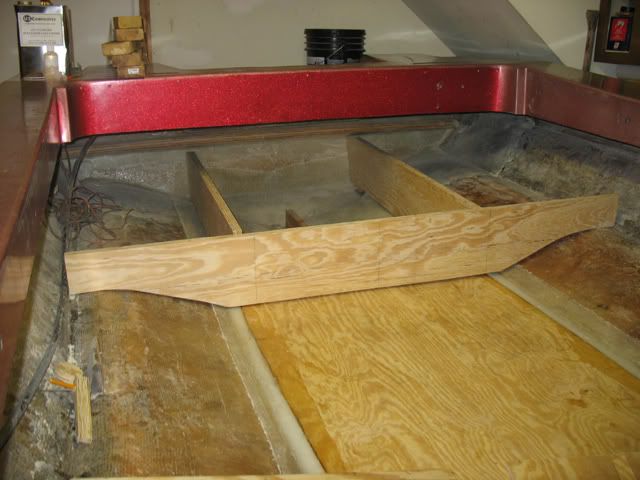
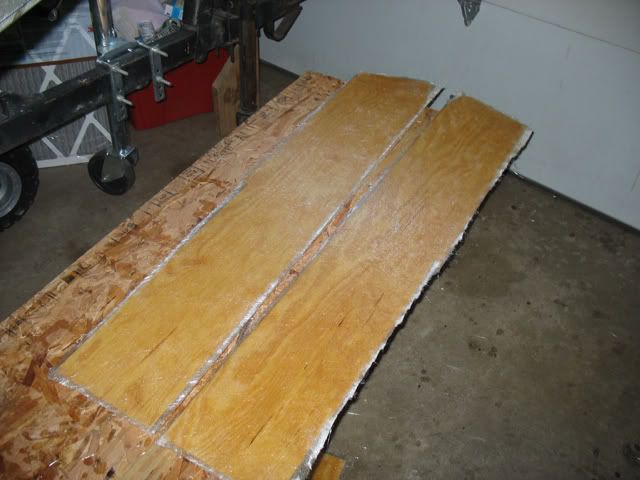
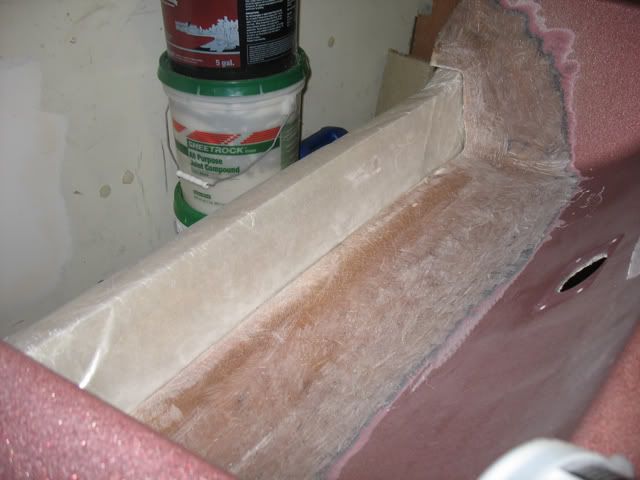
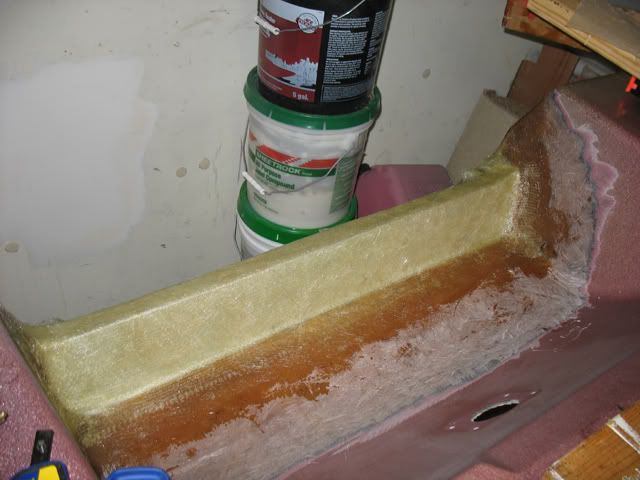
I took off all the weight and scraped off any excess glue from the wood and hull. Then I mixed up a couple of batches of epoxy pb and fillet the edges.

IMG_3616.jpg


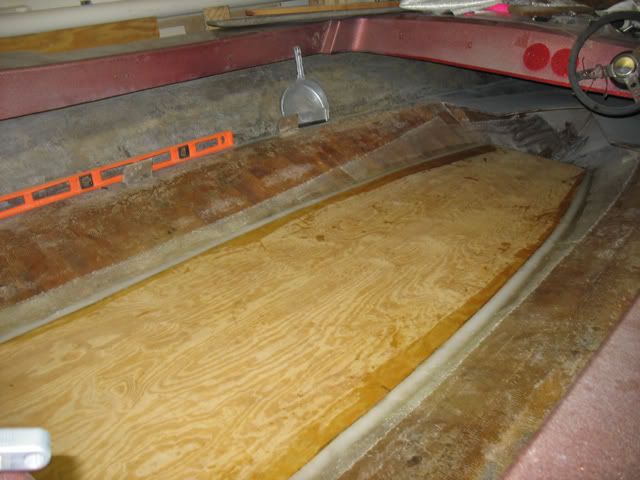
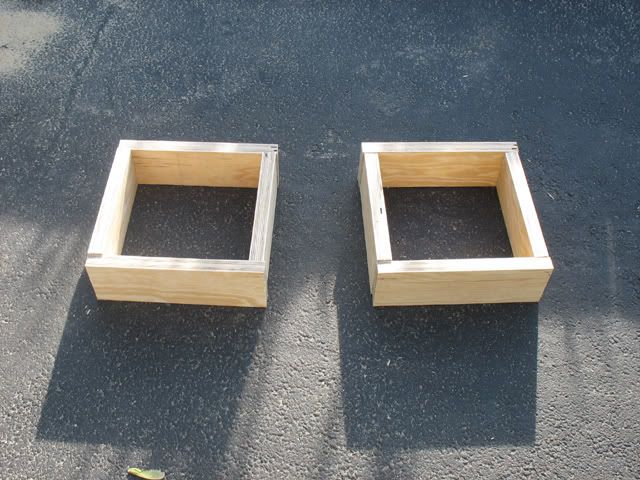
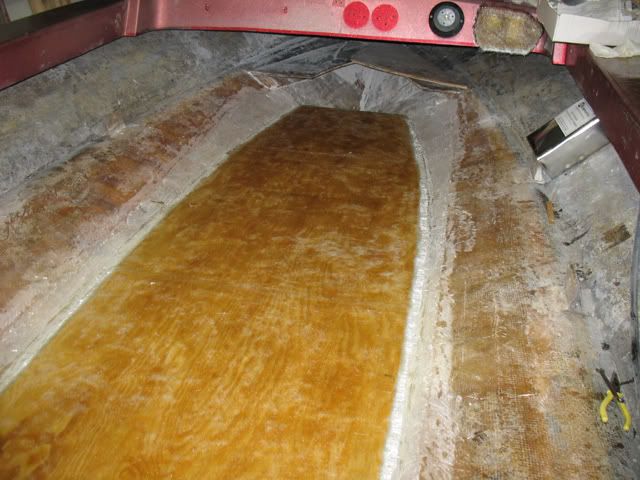
It's so nice to be able to walk on something flat in this boat for a change!
 
I've started working on the seat bases. Here is the framed construction of my rear seat that will tie into the transom. Once done, I should be able to mount any size motor on this boat but for now, I'll start out with my 1500. When I'm done adding all this wood, I'll probably need a 250 hp to reach good speed.

Anyways, my 19 gallon fuel tank will be elevated in the back to give room for my bilge pump. There will be a 1" allowance on each side of the tank for adding foam or whatever buffer I come up with. The total height of the base for the rear bench seat will only 8" tall. The total height from deck to top of the cap is only 22" so I want company to be confortable without feeling like they are going to fall out. The depth of the seat will be 18". Here are a couple of pictures of what I have thus far but my pieces still need to be contoured to the hall...

IMG_3617.jpg


IMG_3618.jpg


IMG_3619.jpg


Also, here is the basic construction of my front seat base mounts. I still need to contour the edges with the hall and make the tops that the seat will bolt to.

IMG_3620.jpg
 
Here are some updated pictures...

IMG_3621.jpg

Roughed construction of the rear seat

IMG_3622.jpg

Glassed the back and seat of the bench seat.

IMG_3627.jpg

Fitted supports that will tie into the transom

IMG_3626.jpg
 
I've got some more work done. I switched resins this weekend from epoxy to polyester. I don't mind working with the new resin but I don't care much for working with csm.

I filled in some holes in the dash by cutting out some 3/4" plywood to match the holes. I glued them in place then I came back and sanded the area and applied a couple of layers of csm and then a layer of 1708.

IMG_3638.jpg


IMG_3641.jpg


I also glassed in the pieces that will make up the base of my bench seat along with the base of my two front seats using csm.

IMG_3639.jpg


IMG_3640.jpg
 
I took some small bolts and reattached my hull and my cap. This is only until I finish glassing the splashwell and I'll seperate them again so I can paint. I then laid down some wax paper across the transom to keep the new glassing of the spashwell from sticking.

IMG_3637.jpg


I then wetted out a piece of woven roven and applied it to the existing area and wrapping it up and over the transom. Afterwards, I clamped it down in place to make sure it would be flat. After setting up, I then wetted out a piece of csm and applied over the WR and them laid a 2x4 over the top of the transom to ensure flatness on the top. It will need some sanding before building more layers but it's a start.

IMG_3642.jpg


IMG_3643.jpg


IMG_3645.jpg


I finished up tonight by glassing my deck using csm. I will come back with epoxy and cloth and tab the edges where I used PB to fill the gap between the wood and hull.

IMG_3644.jpg
 
It's been a while since I've updated so here goes...

I've been sanding on the top of the deck and filling in holes. I've been wetting out a piece of CSM and place it on the backside of the hole and let it cure. I mixed up some epoxy with cabosil and milled fibers and then filled the hole. I did a light sanding with the orbital sander then came back with some epoxy and 3M bubbles to smooth the surface. Now I need to go back and sand smooth and it should be ready for final sanding and priming. Unfortunately, I have not taken many pictures but here is what I have.

IMG_3714.jpg


I also used the epoxy, cabosil and milled fiber mixture and started building up a couple of areas on the bottom stern of the boat where some serious gouges were.

IMG_3719.jpg


IMG_3720.jpg


IMG_3721.jpg
 
Some other progress has been made with making my seat mount boxes. I pre-glassed them with poly resin and csm then glued everything together with PL Premo and ran a couple of screws to hold in place. After the PL Premo cures, I will come back, sand and glass all the interior edges with some epoxy and cloth.

IMG_3718.jpg


I also made a template for the piece of wood that I cut to access my core up in the bow of the boat. After transferring the template, I cut a piece of 1/2" plywood and glued it in place with some PL Premo and I used some blocks of wood screwed in place from the top to hold the wood in place. I would tighten the screw to raise the new piece of wood or loosen to lower since the 1/2" was thicker then the original piece. I will finish by sanding the seam of PL Premo, tab the edge and then glass the repair area.

IMG_3717.jpg
 

john lamon

Active Member
Looks like the mate is coming along good, nice work.

here's a few pics of my neighbors 76' v-mate II, he spent a whole lot of time on it and it turned out great, it has a 2008 220 hp 4.3 MPI in it and it runs in the high 60's. I just though I'd share with you because they are so similar, aside from the I/O O/B thing.

10boat058.jpg


10boat059.jpg


10boat067.jpg
 

Chris

Administrator
Staff member
Cool boat John!

Thanks for sharing, if you could load those up into the photo-gallery I would appreciate it.

I'd like to keep those in the gallery for safekeeping. :)

-Chris
 

john lamon

Active Member
Cool boat John!

Thanks for sharing, if you could load those up into the photo-gallery I would appreciate it.

I'd like to keep those in the gallery for safekeeping. :)

-Chris

No problem Chris, I'll take some interior and engine pics next weekend and upload them then.
 
Top