79 Crestliner Cursader 770 Restoration

Ray

Member
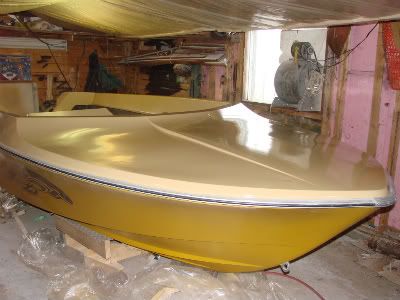
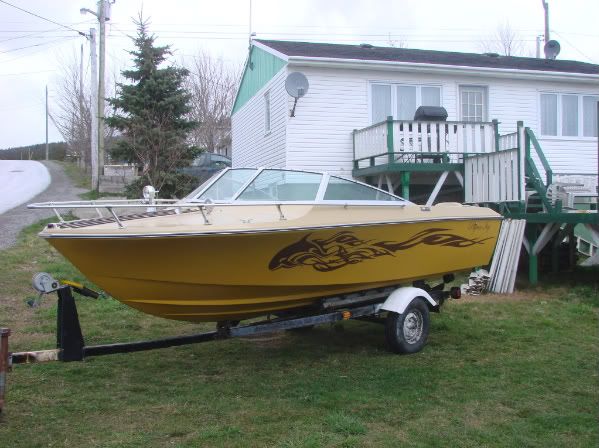
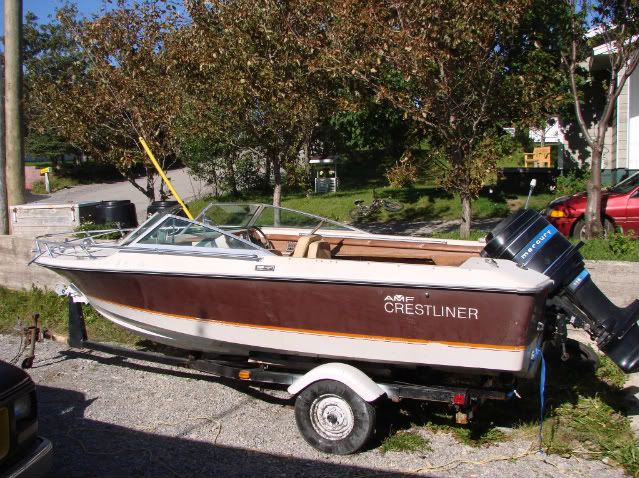
I have undertaken a Restoration project. Below is a series of Pic that i had taken throughout the process.
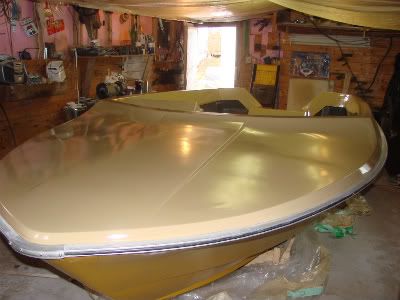
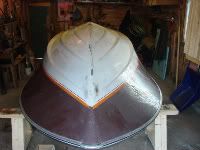

Crestliner Cursader

DSC07546.jpg


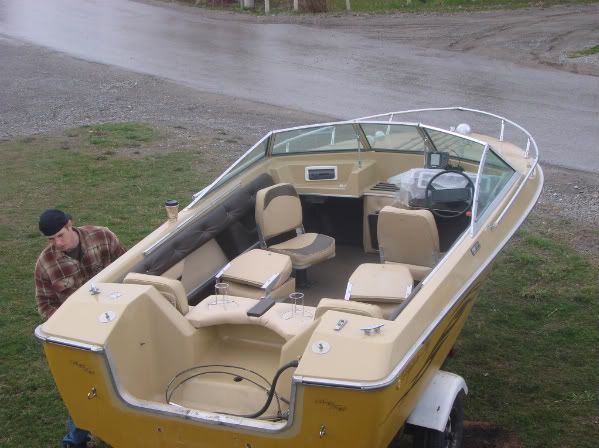
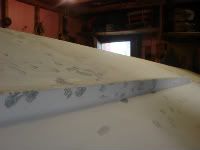
Interior and all looks well

DSCF0423.jpg


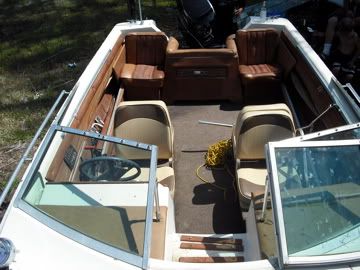
But nothing is has it looks

DSC07558.jpg


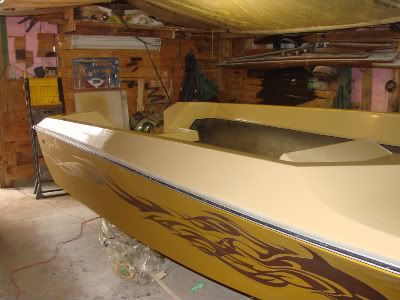
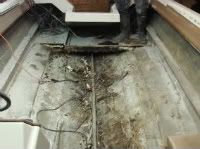
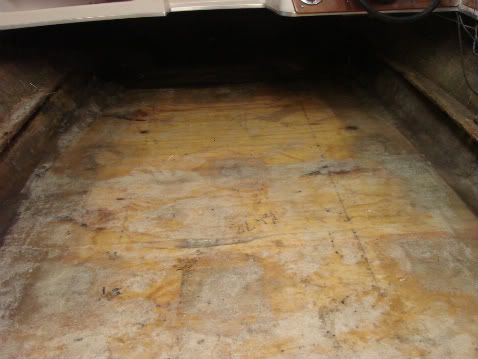
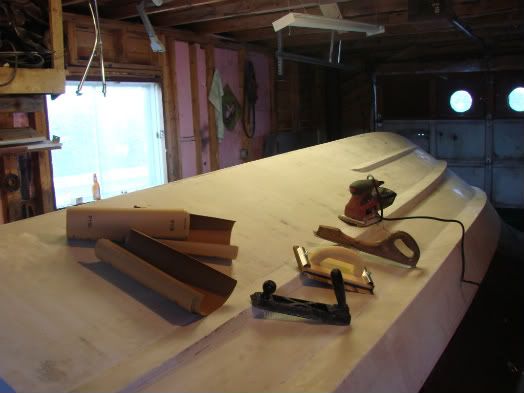
The restoration begins. The floor was a complete removal and replace. Experience has shown me that if wood is soft in one spot it is generally on the verge of total breakdown, So replace all the wood.

DSC07592-1.jpg


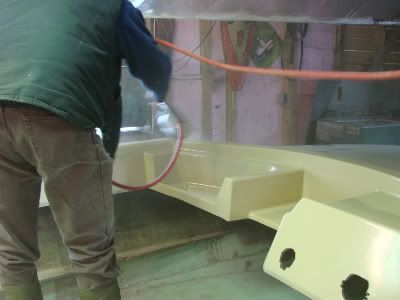
Here I have removed all the wood (stringer) and have replaced it with White Spruce(cut it myself). Two layers of Glass well be added to the stringers, for structural strenght.

DSC07598.jpg


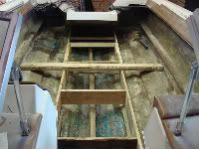
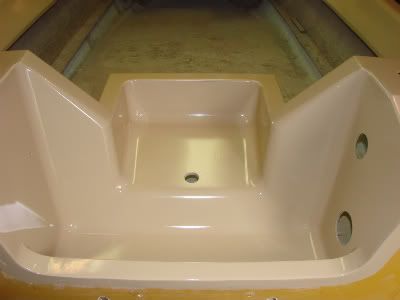
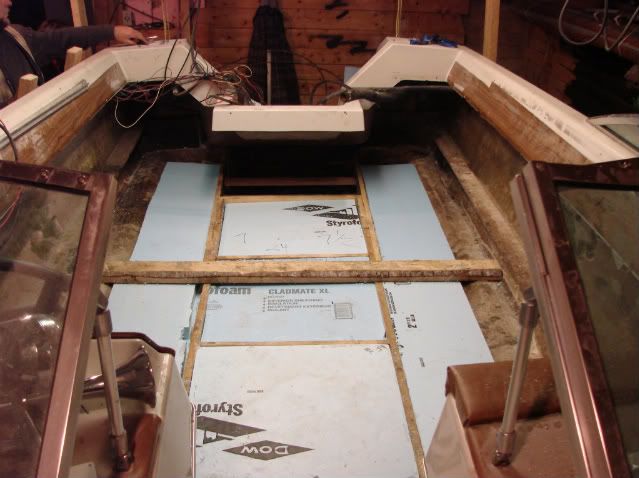
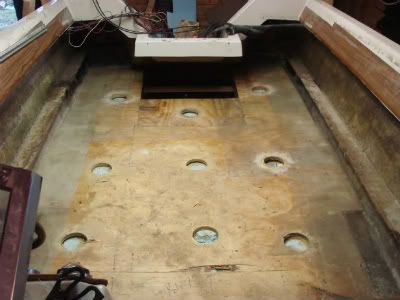
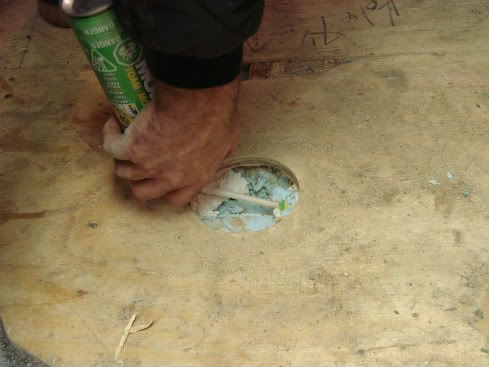
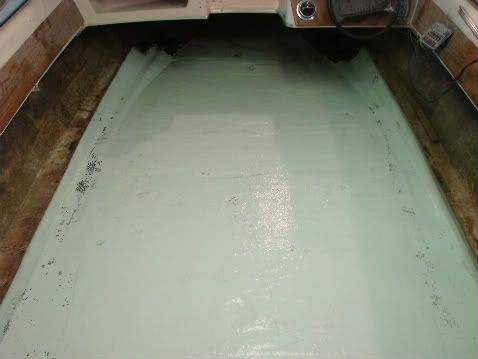
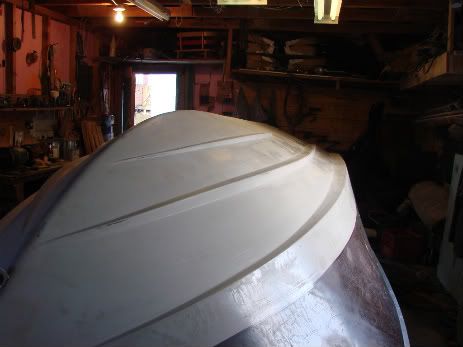
With the Stringers glassed in and hull will begin to take on some stability, My next step was to replace the foam, which is what gives the Crestliner it real stability. This step is very very inportant to the hull integrity. Foam has to packed tight, A spray in foam would be best. This opinion is not open for me so I had to improvise. I packed with SM insulation Sheets and left 1/2 inch clearence between the foan and the plywood bottom. I then cut out holes(cookies) and sprayed MonoFoam in the 1/2 space left between the Foam and deck/Floor. The expansion of the monofoam have the neccessary pressure for hull strenght.

DSC07686.jpg


DSC07869.jpg


DSC07878.jpg


DSC07880.jpg


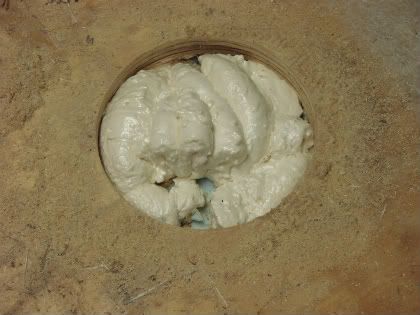
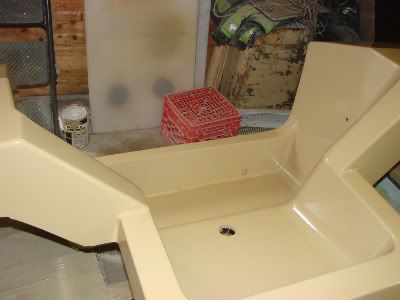
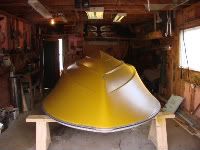
Replaced Cookies and Glassed

DSC07953.jpg


DSC07957.jpg
 

john lamon

Active Member
Looks like alot of work Ray, nice job, you guy's amaze me with some of the restos I've seen on here and the Checkmate site.
 

Ray

Member
Hull restoration

The next step in my restoration was the Exterior Hull. Upon inspection I had discovered that the hull was severally worn. The Gelcoat had taken a lot of abuse such has main keel was worn down to the Fibreglass, Chips and Cracks in Gelcoat.
All the Chipped and Cracks in gelcoat was grind down to the Glass and Fairing Compound was used to fill in the Grind spots. A lite coat of Fairing Compond was applied to the entire hull and sanded down to a smooth finish.
Another layer of Gelcoat was then Sprayed to the Hull, this finished the Hull restoration.


Boat flipped over for Restoration

DSC07968.jpg


Grinding down the Chips and Cracks

DSC07971.jpg


Grinding Spots

DSC07975.jpg


Paraphernalia

DSC08545.jpg


Hull ready for Gelcoat

DSC08534.jpg


New Gelcoat, 3 layers and colour change

DSC08839.jpg


Flip back on her keel and ready for Cap and Tramson repair

DSC08844.jpg
 

Chris

Administrator
Staff member
Ray that's awesome!

I appreciate you taking the time to share those pics with us.

What was your approach with the gel and how did it turn out?

I know many say it's really hard to work with unless it's in the initial lay up.

-Chris
 

Ray

Member
Chris

I had the intent of having the hull glass smooth and after several conversations with the gelcoat manufacturer, I had decided on Spray-on type gel. The manufacturer adviced me to use this type and I was happy to take his advice. here in lies the problem, If you cant trust the Manufacturer who can you trust.
If I had my time back I would have used the roll on and Applied a spray-on Clear coat. The spray-on gelcoat that I used, didn't smooth out, I still have the Orange peel effect.

This ends my Rant, I do have to say that I'm happy enough with the end result. I now know that all is well with the exterior hull.

I have built several wooden boat, we call "Flat". I think the proper term would be "Skiff's". This is my first time dealing with Glass so it is an great experience for me. But with a lot of Fun.
 

Chris

Administrator
Staff member
Chris

I had the intent of having the hull glass smooth and after several conversations with the gelcoat manufacturer, I had decided on Spray-on type gel. The manufacturer adviced me to use this type and I was happy to take his advice. here in lies the problem, If you cant trust the Manufacturer who can you trust.
If I had my time back I would have used the roll on and Applied a spray-on Clear coat. The spray-on gelcoat that I used, didn't smooth out, I still have the Orange peel effect.

This ends my Rant, I do have to say that I'm happy enough with the end result. I now know that all is well with the exterior hull.

I have built several wooden boat, we call "Flat". I think the proper term would be "Skiff's". This is my first time dealing with Glass so it is an great experience for me. But with a lot of Fun.
I'd love to see some of those Skiff's. ;)

With regard to the gel, basically what you said is what I've heard are some of the challenges. Wet-sanding and then spraying clear is a good option that many choose. Or, if the gel is totally shot, then there's obviously paint with an optional coat of clear on top.

I wonder if there are any extenders available that would slow down the dry time of the gel, to help allow it to level out more as it dries.

I'm in the paint business, so I'm pretty familiar with architectural coatings and we have extenders available for some industrial products to slow down dry times and help with flow and leveling. And they actually do work quite well :)

-Chris
 
You've done a nice job with the restoration!

I'm confused which isn't hard to do but you sprayed the outside hull with gelcoat and you're going to paint it?

I'm curious as to how the gelcoat would of held up? I've heard that it cracks real easily when sprayed like that because it's so hard to be consistant with thickness...i.e. too thick or too thin by millimeters and you're screwed. I could be wrong.
 

Ray

Member
I painted the hull with a spray-on Gelcoat . The painting is on the Cap.

I have not used the Boat yet, it is still under restoration but I will keep this thread updated. If i have trouble with the Gelcoat, I definitly let everyone know.
 

joeseif

New Member
Thanks for all the great pictures and tips. I am doing the same thing to the same year boat. I have a few questions if you would not mind.
1. How think was the plywood?
2. could you take some pictures of how the interior should look up close, mine was unassembled.
3. I see in one of your pictures the water is kind of damed into the middle section, did you leave it like that? ro did you make it so the water could pass threw?
thanks
joe
 

Ray

Member
Thanks for all the great pictures and tips. I am doing the same thing to the same year boat. I have a few questions if you would not mind.
1. How think was the plywood?
2. could you take some pictures of how the interior should look up close, mine was unassembled.
3. I see in one of your pictures the water is kind of damed into the middle section, did you leave it like that? ro did you make it so the water could pass threw?
thanks
joe


When I replaced the deck/Floor I used 5/8 plywood, D Grade. As for the interior shots, I came up with my own design, IE swivel chairs and the plush look for the vinyl. The carpet on the floor is indoor/outdoor carpet. I will look for some pics to post later. The pooling of the water , I let it run through to the bilge pump. i have no idea why the underside was partitioned off, that was a very bad idea, when the water got there it was force to stay and continue rottening the H frame and plywood.
 

Ray

Member
Joeseif

http://s276.photobucket.com/home/Bushwacker42/recentuploads?page=1

Take a look around at my pic's, they may help you out. Feel free to ask all the questions you like.

Take a few pic's of your crestliner and start a thread in the Brands section under AMF. or start a thread in the overall/Restoration section. I will look forward to your postings. Your the only other person that has a Crestliner that I now off.

Cheers
 
Last edited:

joeseif

New Member
Thanks for the info. I checked out your pics and I think the one of the before resto shows me the inside pretty good. Did you keep it or sell it? I dont have online storage to post pics too. Once i do i will get some up. Pretty much looks like yours when you gutted it, I have the baffels in and they seem intact so I am just going to cut holes for water to run out.
 
Top